
A spilled coffee in the cup holder, sunscreen on the steering wheel, and a windshield that looks cloudy at sunset are not three separate problems. They are the reason a well-chosen car interior cleaning kit earns its place in the garage. With a few compatible tools and cleaners, most drivers can keep the cabin comfortable, protect common surfaces, and avoid paying for a basic detail every time life happens.
The goal is not to own every detailing product on the shelf. It is to have the right supplies for the materials in your vehicle and know when to use each one. A simple kit also makes regular cleanup easier, which matters more than an occasional all-day cleaning marathon.
What a Car Interior Cleaning Kit Should Include
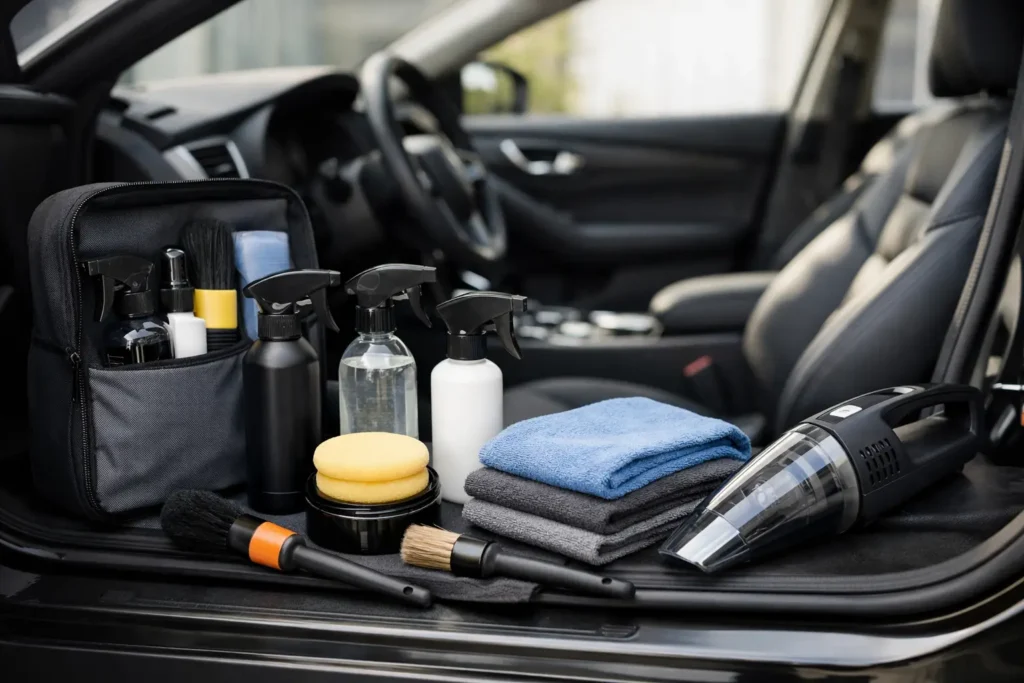
A useful kit covers four jobs: removing loose debris, cleaning surfaces, treating stains, and improving visibility. Start with a vacuum that has a crevice tool, several clean microfiber towels, a soft detailing brush, an interior-safe cleaner, and an automotive glass cleaner. Those basics will handle the majority of everyday messes.
From there, add supplies based on your vehicle and how you use it. Families with young children may need a fabric stain remover and upholstery brush. Pet owners will benefit from a rubber pet-hair brush or a handheld squeegee. Drivers with leather seating need a dedicated leather cleaner and conditioner, while someone with rubber floor mats may only need an all-purpose cleaner and a stiff mat brush.
Avoid buying a prepacked kit just because it contains the most bottles. Many bundles include overlapping dressings, strong fragrances, or cleaners meant for exterior use. More products can mean more confusion, and the wrong product can leave behind shiny residue, discolor trim, or make controls slippery.
The core tools
Microfiber towels are the workhorses of interior cleaning. Keep separate towels for glass, general cleaning, and protectants so you do not transfer residue from one surface to another. Choose soft, clean towels with no embedded debris, especially around piano-black trim, gauge lenses, and infotainment screens.
A vacuum with a narrow crevice attachment reaches under seats, between cushions, and along console edges. A compact handheld vacuum is convenient, but a standard shop vacuum usually has stronger suction for sand, pet hair, and deeply soiled carpet.
Use soft brushes rather than old toothbrushes for delicate areas. A small detailing brush helps lift dust from vents, seams, buttons, and stitched upholstery. For carpet and floor mats, use a separate medium-stiff brush. Keeping these tools separate prevents grit from scratching interior trim.
The essential cleaners
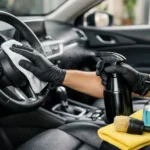
An interior cleaner labeled safe for vinyl, plastic, rubber, and finished surfaces is the most versatile bottle in the kit. It works well on dashboards, door panels, center consoles, and many steering wheels. Spray it onto a microfiber towel or brush instead of directly onto electronics, screens, switches, or gauge clusters.
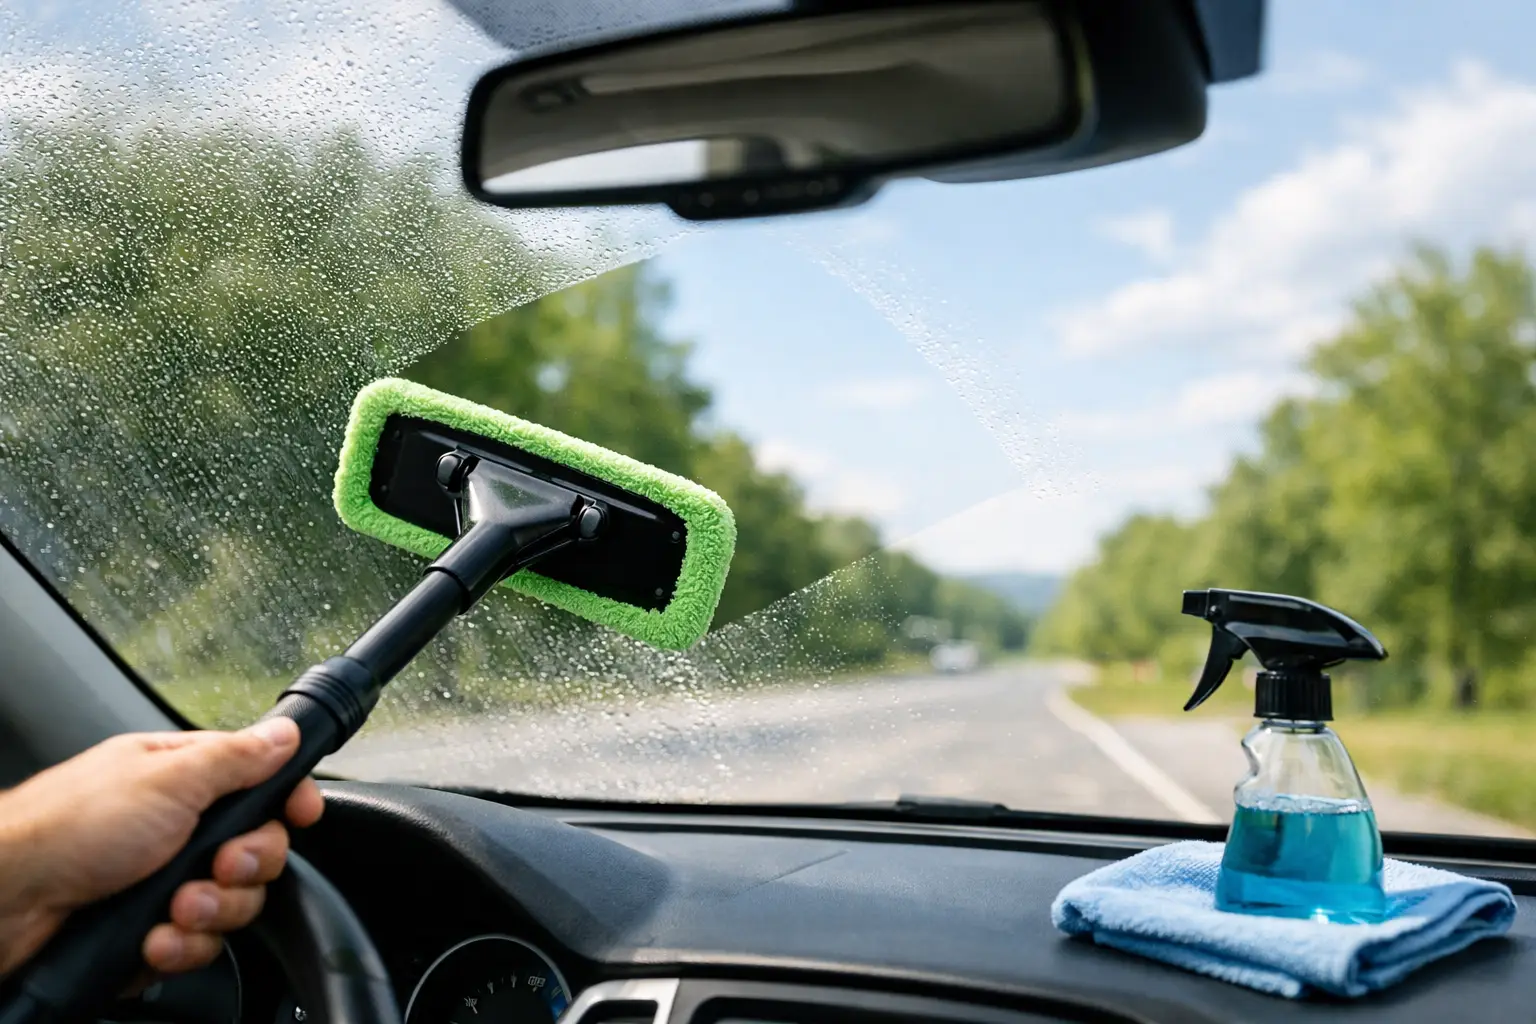
Glass cleaner deserves its own place in the kit. Interior glass collects a film from off-gassing plastics, skin oils, smoke, and climate-control airflow. Choose an ammonia-free automotive formula, particularly if your vehicle has tinted windows. Use one towel to clean and a second dry towel to buff away streaks.
Fabric and carpet cleaner is helpful for cloth seats and carpeted mats, but it should be used carefully. Saturating upholstery can leave water marks, encourage odors, and make drying take much longer. Treat the stain, blot it, and use only enough product to clean the affected area.
Match Products to Your Interior Materials
The safest car interior cleaning kit is built around material compatibility. Before applying anything, check the owner’s manual for care guidance and test a small, hidden spot. This is especially important in newer vehicles, where trim may combine painted plastic, soft-touch coatings, leather, synthetic leather, fabric, and glossy display surfaces in one small area.
Leather needs a gentle approach. Use a cleaner designed for automotive leather, wipe with a soft towel, and apply conditioner sparingly if the manufacturer allows it. Modern coated leather does not need heavy oils. Too much conditioner can create a glossy finish that attracts dust and feels slick.
Synthetic leather, often marketed under names such as leatherette or vegan leather, generally responds well to a mild interior cleaner. Treat it as a coated surface, not as natural leather. Strong conditioners and harsh solvents are unnecessary and may leave residue.
For touchscreens and gauge displays, start dry. A clean microfiber towel can remove most fingerprints. If more cleaning is needed, lightly dampen the cloth with water or a screen-safe cleaner. Never spray liquid directly onto the screen, and do not use rough paper towels that can leave fine scratches.
Rubber and all-weather mats can handle more agitation than carpet, but they still need to dry before reinstalling. Clean them outside the vehicle, rinse if the product instructions permit it, and let them air-dry flat. Wet mats can create foggy windows and musty cabin odors.
A Practical Cleaning Order That Saves Time
Cleaning in the right order keeps you from redoing work. Start by removing trash, personal items, and floor mats. Then vacuum from top to bottom: vents and seats first, followed by door pockets, console storage, carpets, and the area beneath the seats. Dust and crumbs fall downward, so vacuuming last among the dry steps captures what you loosened.
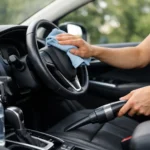
Next, clean high-touch surfaces. Wipe the steering wheel, turn-signal stalk, shifter, door handles, seatbelt buckles, window switches, and center controls. These areas gather body oils and are usually dirtier than they appear. Use a lightly dampened microfiber towel rather than soaking the surface.
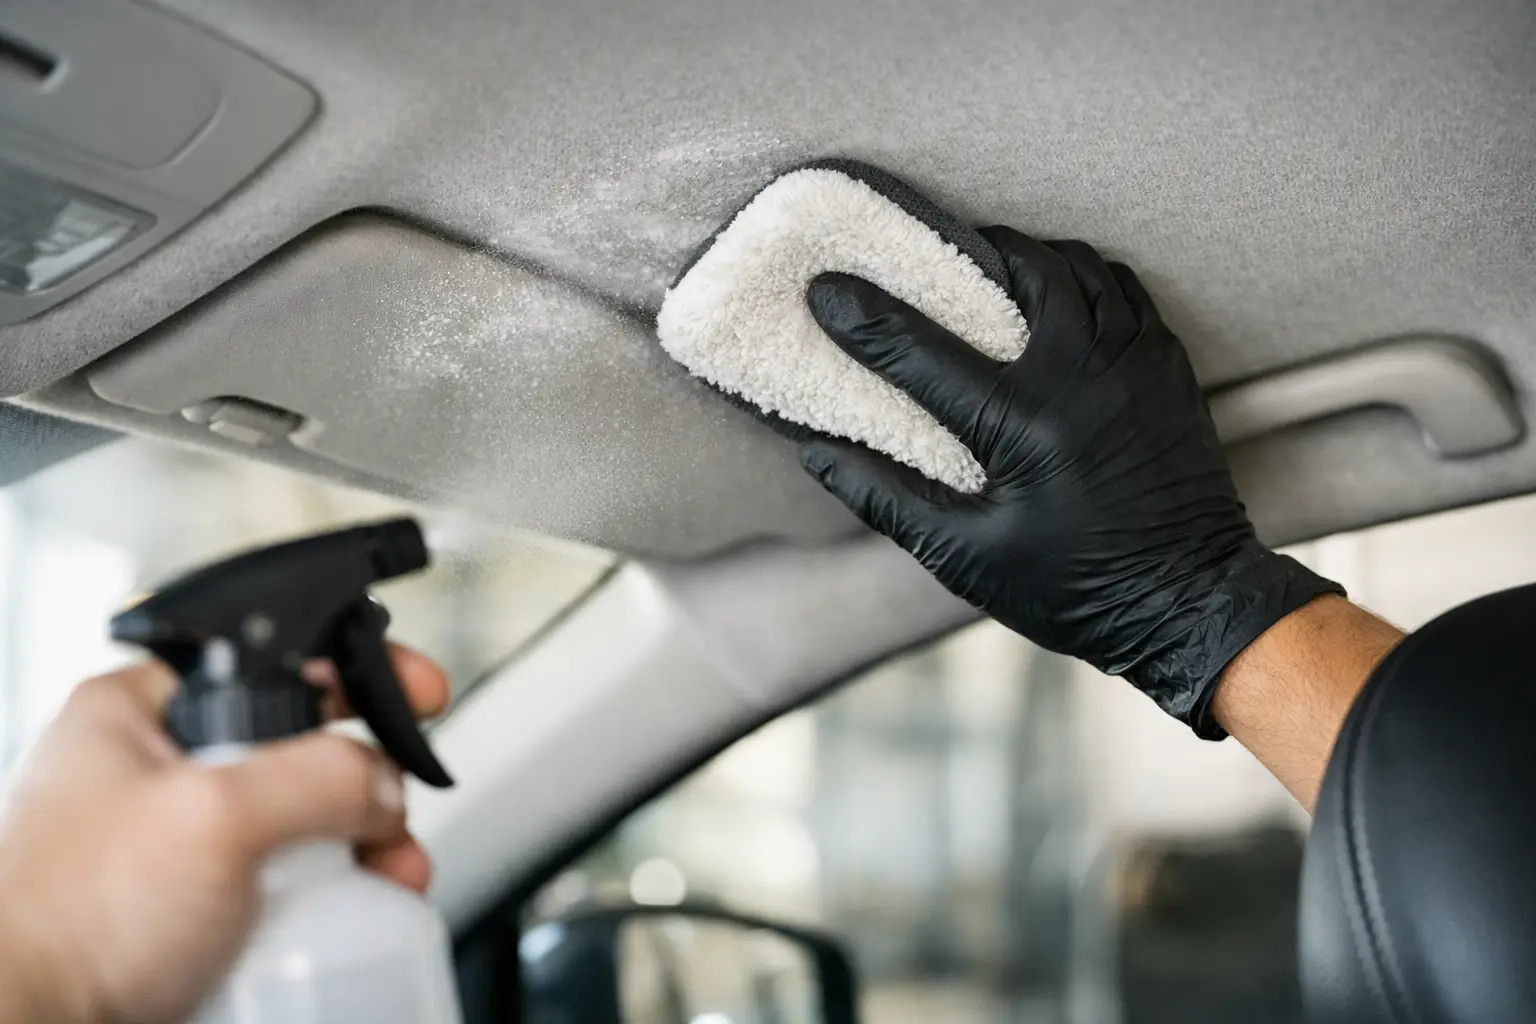
Move on to the dashboard, door panels, and console. Work in small sections so cleaner does not dry before you wipe it away. Use a soft brush around seams and buttons, then follow with a towel to remove loosened dirt. If a surface still looks dull after cleaning, it may simply be its natural finish. A greasy shine is not proof that a dashboard is protected.
Treat fabric stains after the general surfaces are clean. Blot fresh spills immediately. For older spots, apply cleaner according to the label, gently agitate with an upholstery brush if needed, and blot with a dry towel. Rubbing aggressively can spread the stain or rough up fabric fibers.
Clean interior glass near the end, after airborne dust has settled. Lower each window slightly to reach the top edge, then raise it and finish the rest of the glass. This small step prevents the dirty strip that often remains along the top of side windows.
Common Mistakes That Make Interiors Look Worse
The most common mistake is using too much product. Excess cleaner runs into seams, leaves streaks on trim, and can make dust return faster. A towel should be damp, not dripping, and a product should be used only as directed.
Another problem is using one towel for everything. Glass cleaner residue on a dashboard can cause smearing, while an interior protectant on glass can reduce visibility. Assign towels by job and wash microfiber separately from lint-heavy laundry. Skip fabric softener because it can reduce absorbency.
Be cautious with glossy protectants. Some drivers like a dark, dressed appearance on plastic and vinyl, but shine can create windshield glare and make the cabin look artificially oily. For dashboards and steering wheels, a clean, low-sheen finish is usually the better choice. Never apply a slick dressing to pedals, steering wheels, shifters, or floor mats.
Finally, do not cover odors before removing their source. Air freshener can help after cleaning, but it will not solve spilled milk under a seat, damp carpet, a dirty cabin air filter, or a moisture leak. Persistent odors need investigation, not stronger fragrance.
How Often Should You Restock and Clean?
A quick weekly reset is enough for many vehicles: remove trash, shake out mats, wipe high-touch surfaces, and clean obvious glass smudges. Plan a deeper interior clean every one to three months, depending on passengers, pets, weather, and commute length.
Restock microfiber towels before they become stiff or permanently stained, and replace cleaners only when they are empty, expired, or no longer performing. Store the kit in a sealed tote away from freezing temperatures and direct heat. That keeps bottles from leaking and gives you one reliable place to find everything.
A clean cabin does more than make the next drive feel better. It helps you notice worn mats, damaged upholstery, leaking seals, and other small issues before they become expensive ones. Keep the kit simple, use it regularly, and your vehicle will look cared for without turning every Saturday into a detailing project.