
A cleaner that leaves your dashboard shiny can also leave glare on the windshield. A strong fabric spray can remove a coffee spot but create a water ring if it is overused. Knowing how to use car interior cleaner correctly is less about scrubbing harder and more about matching the product and technique to the surface in front of you.
Most interiors contain several materials within arm’s reach: plastic trim, vinyl, cloth, carpet, leather or synthetic leather, touchscreens, and clear gauge lenses. Treating all of them with one heavy spray is the fastest way to create streaks, discoloration, or residue. A careful routine protects the surfaces you touch every day while keeping the cabin more comfortable and easier to maintain.
Start by Identifying the Surface and Cleaner
Read the label before using any car interior cleaner. Some products are general-purpose cleaners designed for plastic, vinyl, rubber, and light dirt. Others are made specifically for upholstery, leather, glass, or electronic screens. A product that works well on a door panel may not be safe for leather seats or a touchscreen coating.
Check your owner’s manual if you are unsure what a surface is made of. Many newer vehicles use synthetic leather, soft-touch plastic, piano-black trim, or coated fabrics that need gentler care than older hard-plastic interiors. If the cleaner label does not specifically say it is safe for a material, use a product intended for that material instead.
Before cleaning a visible area, test the product in a hidden spot. The lower edge of a seat, an area under the glove box, or a small section of carpet works well. Apply a small amount, wipe it away, and allow it to dry. Look for fading, staining, tackiness, or a change in texture.
Prepare the Cabin Before You Spray
Cleaning over loose sand, crumbs, or pet hair turns dirt into a muddy film. Start by removing floor mats, trash, and personal items. Vacuum the seats, carpet, floor mats, cup holders, door pockets, seams, and crevices using a soft brush attachment when possible.
This step matters because interior cleaner is best at lifting the grime that remains after dry debris is removed. It also keeps grit from scratching glossy trim, clear plastic, and infotainment screens as you wipe.
Park in the shade or clean in a garage when you can. Direct sunlight warms interior panels quickly, causing cleaner to dry before you can wipe it off. That can leave streaks, especially on dark dashboards and door panels. Open the doors or windows for ventilation, particularly when using stronger cleaners or stain removers.
Keep a few clean microfiber towels nearby. Use separate towels for dusty surfaces, cleaner application, and final drying. Reusing one dirty towel across the cabin can spread oily residue from a door panel onto a screen or seat.
How to Use Car Interior Cleaner Step by Step
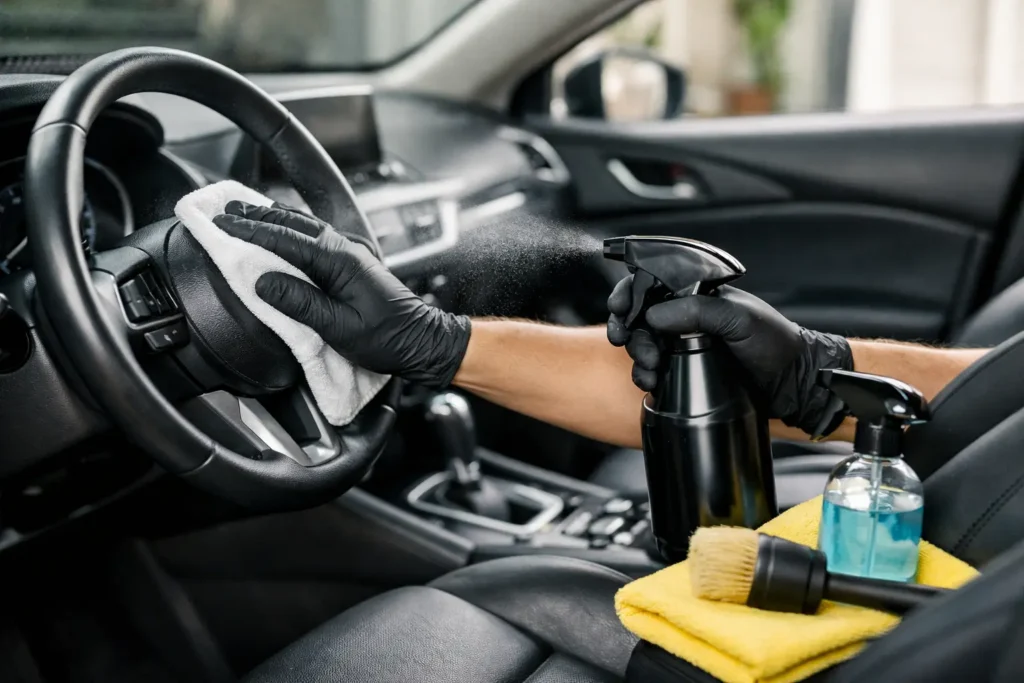
For most plastic, vinyl, rubber, and painted interior trim, spray the cleaner onto a microfiber towel rather than directly onto the vehicle. This gives you better control and prevents overspray from reaching glass, electronics, switches, and seams.
Wipe one small area at a time using light, overlapping passes. For textured dashboard plastic, use a soft detailing brush to gently work cleaner into the grain, then immediately wipe away the loosened dirt with a microfiber towel. Do not let the cleaner sit longer than the label recommends.
Follow with a second dry microfiber towel to remove remaining moisture and residue. The finish should look clean and natural, not wet or greasy. A glossy dashboard may look freshly detailed, but it can reflect sunlight into your windshield and attract more dust. For most daily drivers, a low-sheen or matte finish is the practical choice.
Move from the cleanest areas to the dirtiest. A sensible order is the headliner and upper trim first, then dashboard and center console, followed by door panels, seats, carpets, and floor mats. This prevents dirty runoff or debris from landing on surfaces you already cleaned.
Clean Buttons, Vents, and Tight Areas Carefully
Use a lightly dampened microfiber towel or soft brush around buttons, steering-wheel controls, shifter trim, air vents, and seams. Never spray cleaner directly into switches, speaker grilles, USB ports, or ventilation openings. Excess liquid can reach electrical components and create problems that a clean-looking dashboard is not worth.
For narrow seams, wrap a microfiber towel around a plastic trim tool or use a soft detailing brush. Avoid metal picks, stiff brushes, and aggressive scrubbing. They can scratch trim, tear upholstery stitching, or damage the printed symbols on buttons.
Use Less Cleaner on Headliners
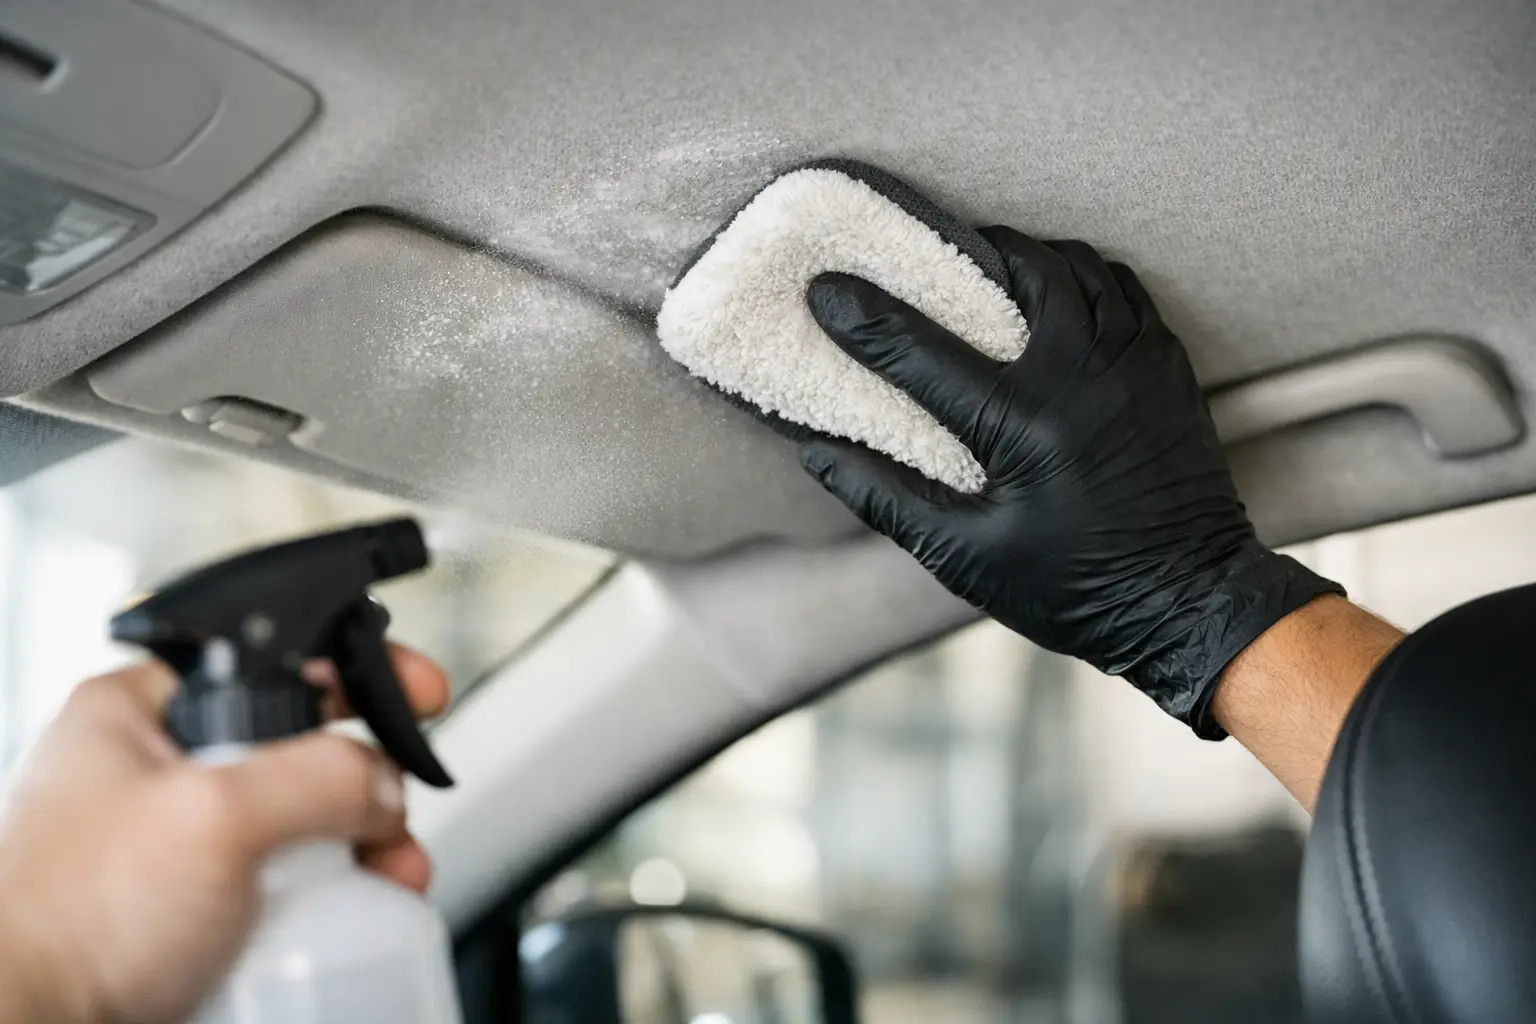
The headliner is the fabric on the ceiling, and it is one of the easiest interior surfaces to damage. It is typically held in place with adhesive, which can loosen if the material becomes soaked.
Apply a small amount of upholstery-safe cleaner to a towel, not the headliner itself. Blot a stain gently instead of rubbing it. Work in a small area and use minimal moisture. If the stain is widespread or the headliner is sagging, professional help is often the safer choice.
Adjust Your Method for Seats and Carpet
Cloth seats and carpet need an upholstery or fabric cleaner, not a shiny interior dressing. Vacuum first, then treat stains individually. Apply cleaner according to the label, usually to the fabric or a towel, and gently agitate with an upholstery brush if needed.
Avoid soaking the material. Too much liquid can push dirt deeper into the padding, leave water marks, or create odors as the seat dries. Blot with a clean microfiber towel after cleaning and leave doors open long enough for the cabin to dry completely. A fan can speed up drying if humidity is high.
For a fresh spill, blot from the outside edge toward the center. This helps keep the stain from spreading. Do not scrub a spill aggressively, especially if it contains oil, dye, or food coloring. Repeated light treatment is usually safer than one overly wet cleaning session.
Leather requires a different approach. Use a leather-specific cleaner on genuine leather and follow it with a compatible conditioner if the product instructions call for one. Apply the cleaner to a towel first, wipe gently, and keep moisture out of perforations and stitching. If your seats are synthetic leather, check the owner’s manual and use a cleaner approved for vinyl or synthetic upholstery. Leather conditioner is not always necessary, or appropriate, for synthetic materials.
Protect Screens, Clear Plastic, and Glass
Infotainment screens, gauge-cluster lenses, and piano-black trim scratch easily. Use a clean, soft microfiber towel that has not been used on greasy dashboard surfaces. For screens, turn the display off if possible so fingerprints and streaks are easier to see.
Use a screen-safe cleaner sparingly, or lightly dampen the towel with water if the manufacturer’s guidance allows it. Never spray directly onto the screen. Avoid cleaners containing ammonia, alcohol, harsh solvents, or abrasives unless your vehicle manufacturer specifically approves them, since some displays have anti-glare or anti-fingerprint coatings.
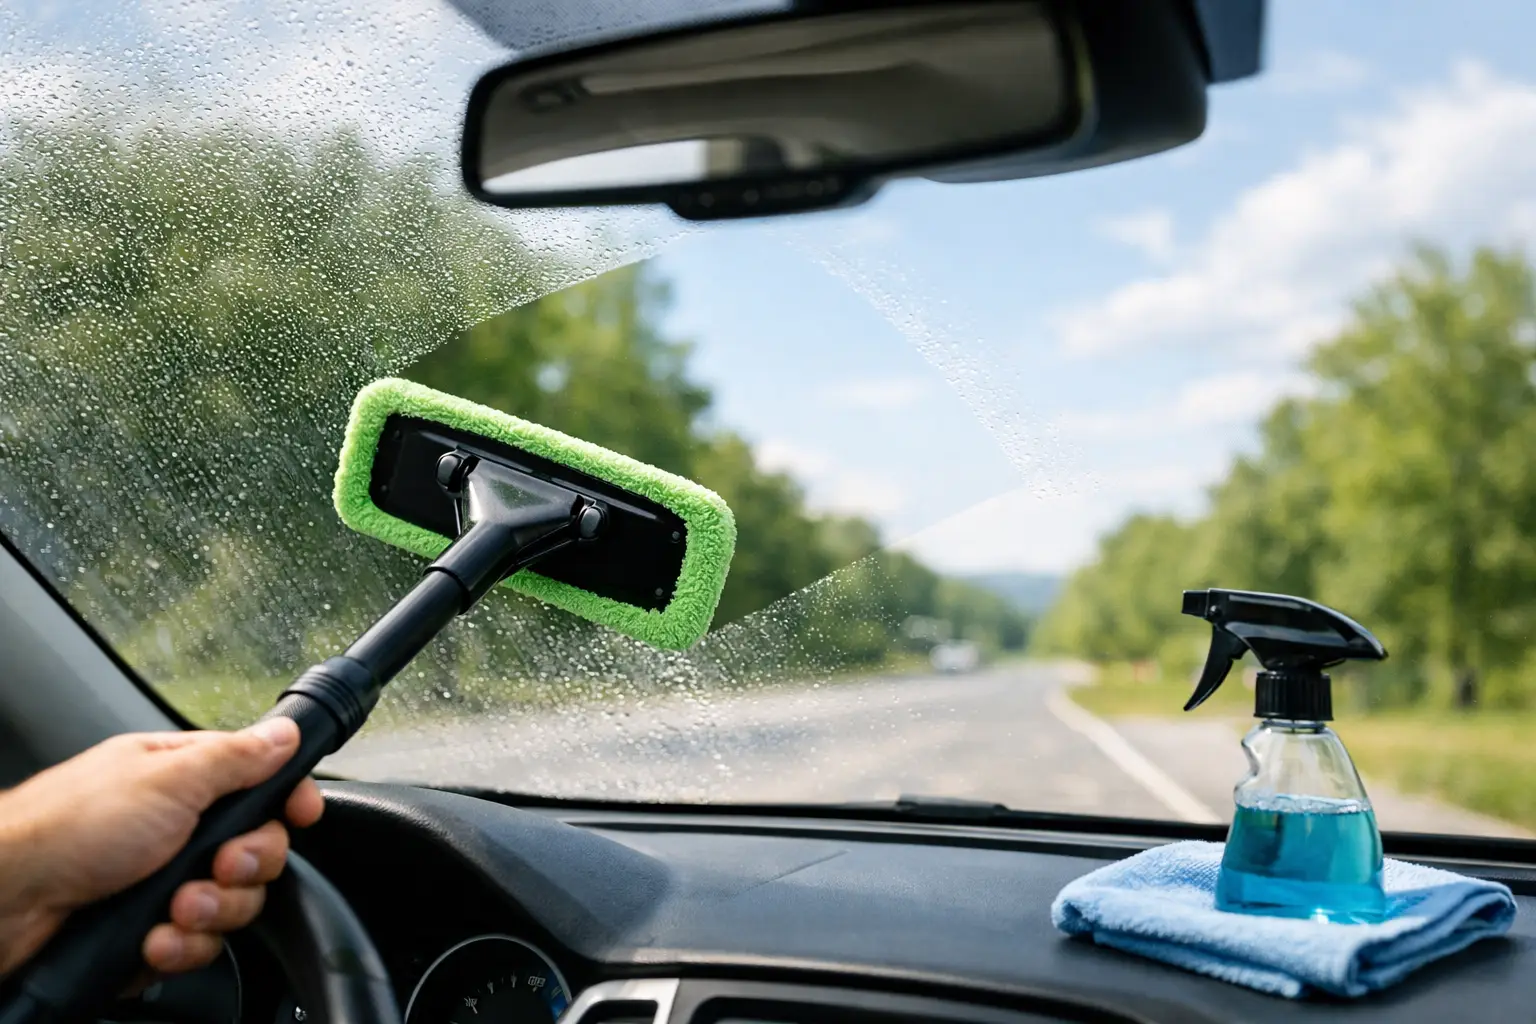
Clean interior glass last. Glass cleaner can leave overspray on freshly cleaned trim, and cleaning it at the end lets you catch haze caused by dashboard products. Spray glass cleaner onto a dedicated towel, wipe the glass, then buff with a second dry towel for a clear finish.
Common Mistakes That Create More Work
The biggest mistake is using too much product. More cleaner does not mean more cleaning power. It often means residue, streaks, longer drying time, and a surface that attracts dust faster. Start with a light application and repeat only if necessary.
Another common issue is using household cleaners without checking the ingredients. Bleach, abrasive powders, strong degreasers, and all-purpose cleaners can fade upholstery, dry out leather, damage display coatings, or leave plastic looking chalky. Car-specific products are formulated with automotive materials in mind, though you should still read the label and spot-test them.
Do not ignore the steering wheel, shifter, door pulls, and seat-belt buckles. These high-touch areas collect body oils, sunscreen, food residue, and germs. Clean them with a compatible interior cleaner on a towel, then wipe dry so the surfaces do not feel slick.
Build a Routine That Keeps Cleaning Simple
A quick wipe-down every few weeks is easier than tackling months of buildup. Vacuuming regularly, removing spills promptly, and using a microfiber towel on high-touch surfaces will reduce the need for aggressive cleaning later.
For most vehicles, a light interior cleaning once a month and a deeper cleaning every few months is enough. It depends on how the vehicle is used. Families with kids, pet owners, rideshare drivers, and commuters who eat in the car may need more frequent attention.
The goal is not a showroom-shiny cabin every day. It is a clean, dry, low-glare interior that feels good to drive and holds up well over time. Use the right cleaner in small amounts, let surfaces dry fully, and your next interior cleaning will take far less effort.