
The first time a dashboard warning light appears, many new car owners assume a shop visit is the only safe option. Sometimes it is. But a surprising number of routine tasks take only a few minutes, cost very little, and help you spot trouble before it becomes expensive. These DIY car maintenance tips for beginners focus on the checks that make the biggest difference without asking you to become your own mechanic.
Basic maintenance protects more than your budget. It can improve fuel economy, extend the life of tires and brakes, preserve resale value, and make everyday driving feel less stressful. The key is knowing what you can handle at home and when to stop and call a professional.
Start With a Simple Maintenance Routine
Before buying tools or fluids, find your owner’s manual. It lists the correct oil viscosity, tire pressure, fluid specifications, service intervals, warning-light meanings, and recommended replacement parts for your exact vehicle. Advice that works for one car may be wrong for another, especially with newer engines, hybrid systems, and vehicles that require specific coolants or brake fluids.
Choose one day each month for a quick walk-around and under-hood check. Park on level ground, set the parking brake, and let the engine cool before touching anything under the hood. Keep a note on your phone with mileage, service dates, and anything unusual you notice. That record makes it easier to recognize a developing problem and helps when it is time to sell the vehicle.
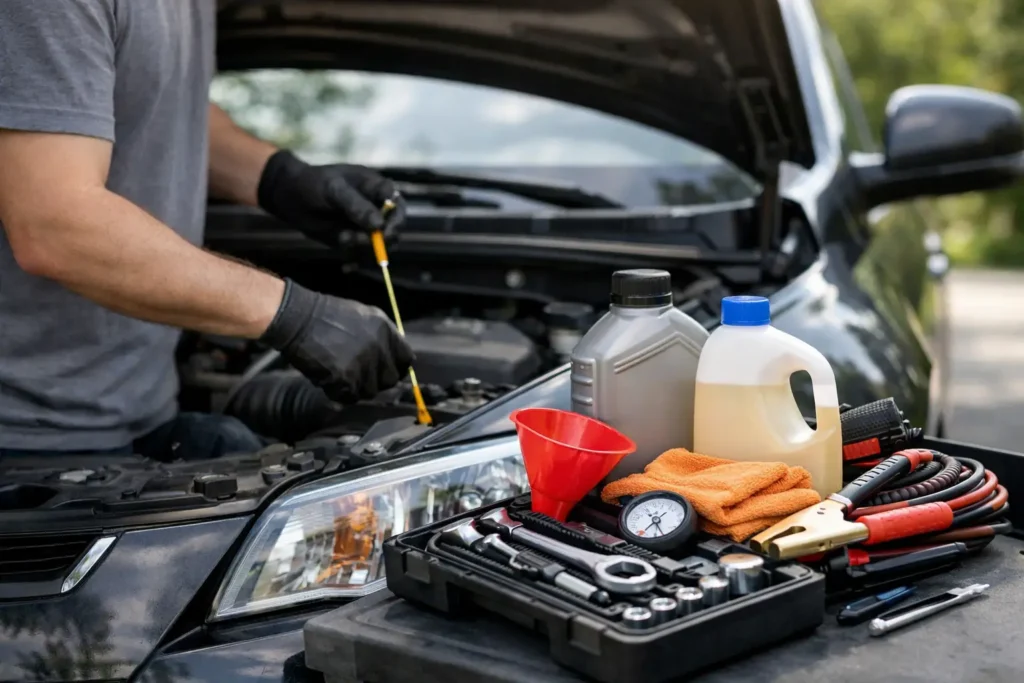
A basic starter kit is enough for most jobs: a tire-pressure gauge, portable inflator, microfiber towels, work gloves, funnel, windshield washer fluid, a small flashlight, and a socket set or wrench set. Add supplies as your confidence grows rather than buying a garage full of tools you may not use.
10 DIY Car Maintenance Tips for Beginners
1. Check tire pressure when tires are cold
Tires lose air naturally over time, and a major temperature change can lower pressure quickly. Check all four tires, plus the spare if your vehicle has one, at least once a month and before a long road trip. Use the pressure listed on the driver-side door-jamb sticker, not the maximum pressure molded into the tire sidewall.
Underinflated tires wear faster on the edges, reduce fuel economy, and can make steering feel less precise. Overinflation can reduce traction and cause the center of the tread to wear sooner. If one tire consistently loses pressure, do not keep topping it off indefinitely. It may have a puncture, damaged valve stem, or wheel issue that needs repair.
2. Look at tire tread and wear patterns
While checking pressure, inspect the tread. The built-in wear bars across the grooves become level with the tread when replacement is due. You can also use a tread-depth gauge for a more accurate reading.
Pay attention to uneven wear. More wear on one edge can point to alignment or suspension problems, while cupping or scalloped patches may indicate worn shocks, struts, or an out-of-balance wheel. Rotating tires on the schedule in your owner’s manual helps them wear more evenly, although many drivers prefer to have a shop do the rotation because lifting a vehicle safely requires the right equipment.
3. Check engine oil the right way
Engine oil lubricates moving parts and helps control heat. On vehicles with a dipstick, check it on level ground after the engine has been off for several minutes. Pull the dipstick, wipe it clean, reinsert it fully, then pull it again to read the level. The oil should sit between the low and full marks.
If it is low, add a small amount of the correct oil, then recheck. Overfilling can be as harmful as running low. Dark oil alone does not always mean it needs immediate replacement, but a burnt smell, metallic particles, or a sudden drop in level deserves attention. Follow the manufacturer’s oil-change interval, which may be based on time, mileage, or an oil-life monitoring system.
4. Keep windshield washer fluid topped up
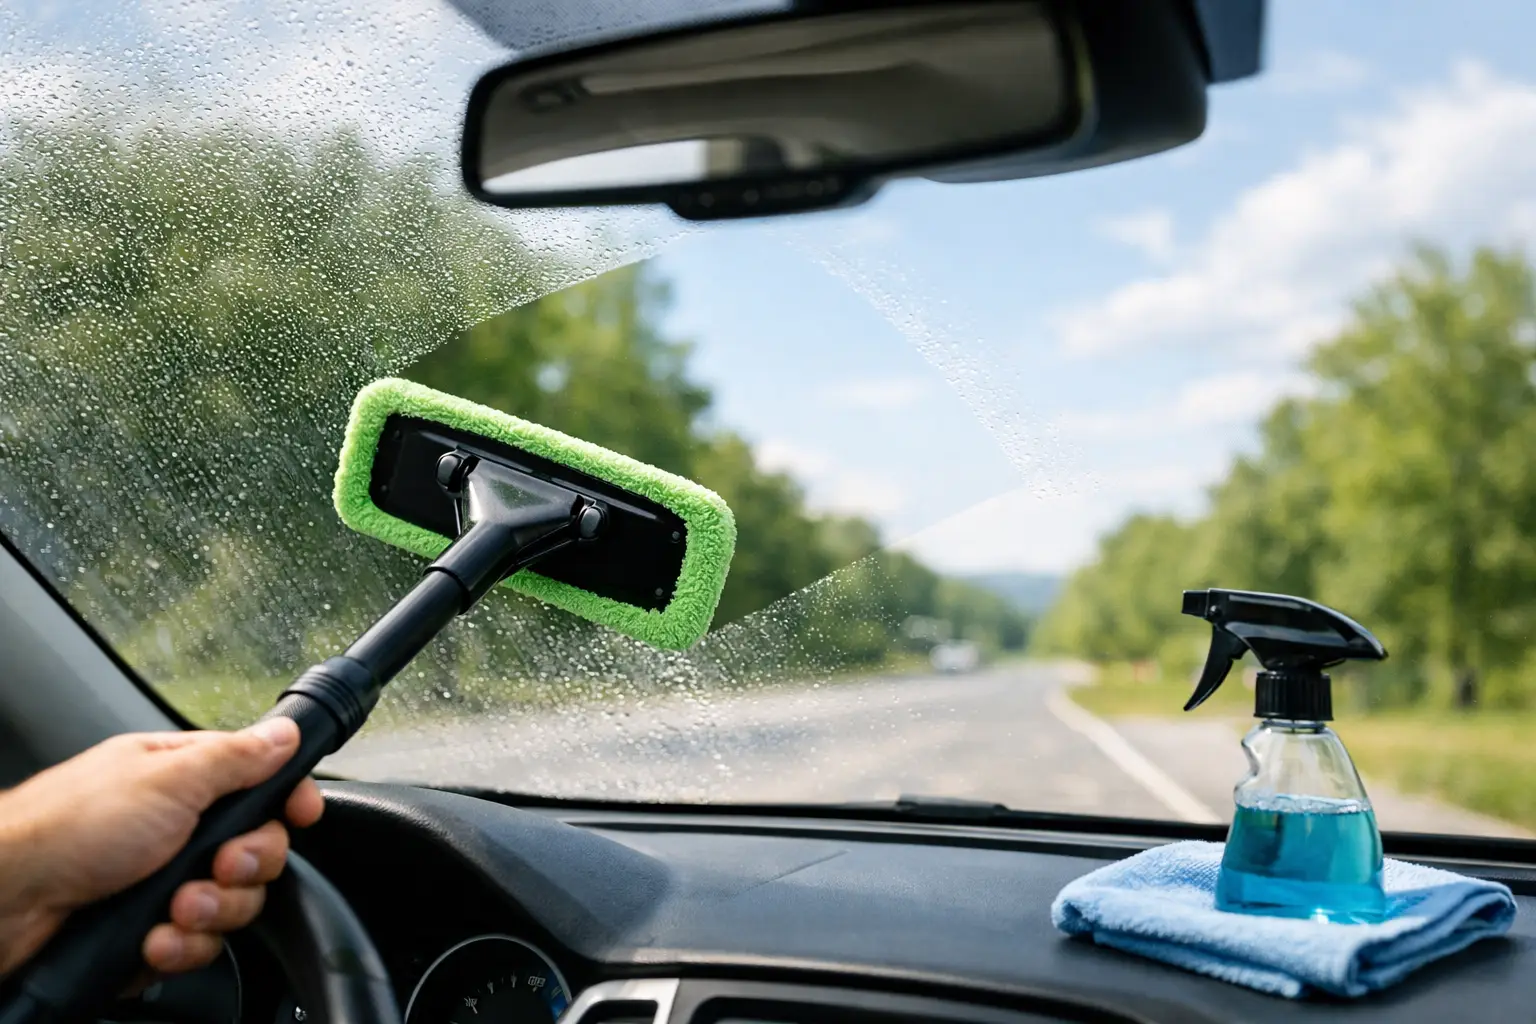
This is one of the easiest maintenance tasks, yet it directly affects visibility. Open the hood and locate the reservoir cap marked with a windshield symbol. Use washer fluid made for automotive use, especially in regions with freezing winters. Plain water can freeze, encourage mineral buildup, and may not remove road film or bug residue effectively.
If the spray is weak after filling the reservoir, inspect the washer nozzles for dirt and make sure the wiper blades are not smearing the glass. Replace blades when they streak, chatter, split, or leave sections of the windshield uncleared. Clear glass is a safety item, not just a cosmetic one.
5. Inspect exterior lights every month
Headlights, brake lights, turn signals, reverse lights, and license-plate lights all need to work for safe driving. Park near a wall or garage door to check headlights and turn signals. For brake lights, ask someone to stand behind the vehicle or use the reflection in a window.
Replacing a bulb can be simple, but access varies widely. Some vehicles have a convenient panel inside the trunk, while others require removing trim or reaching through a tight engine-bay space. Consult the manual before forcing anything. If moisture is collecting inside a light housing, the housing seal may need attention even if the bulb still works.
6. Watch your fluid levels, but do not mix fluids
Along with oil and washer fluid, many vehicles have reservoirs for coolant, brake fluid, power steering fluid, and transmission fluid. Some newer vehicles do not provide a transmission dipstick, and several have electric power steering, so what you see under the hood depends on the model.
Check coolant only when the engine is completely cold, and read the level through the translucent reservoir rather than opening a hot radiator cap. Brake fluid should generally remain near the marked line. A low brake-fluid level can signal worn brake pads or a leak, so it is better to have it inspected than simply fill it without asking why it dropped. Never guess at fluid type or pour one fluid into another reservoir.
7. Listen for changes in brakes and steering
Your car often tells you when something is changing. Squealing brakes may be caused by moisture or surface rust, especially after rain, but persistent noise, grinding, vibration through the brake pedal, or a vehicle that pulls while braking should be checked promptly. Grinding can mean the brake pads are worn down enough to damage the rotors.
Likewise, a new clunk over bumps, a steering wheel that shakes at highway speeds, or a car that drifts to one side should not be ignored. These symptoms are not usually beginner repair jobs, but noticing them early can limit repair costs and improve safety.
8. Replace the cabin air filter when airflow drops
A cabin air filter helps trap dust, pollen, and debris before air enters the interior. When it gets clogged, the ventilation system may smell musty, airflow can weaken, and defrosting may take longer. On many vehicles, it sits behind the glove box and can be replaced in under 20 minutes.
This is a good first project because it typically requires few tools. Still, check the filter orientation before installing the new one. An arrow usually shows the direction of airflow. If the filter compartment is difficult to access or requires removing delicate trim, a shop can handle it during routine service.
9. Keep the battery terminals clean and secure
Open the hood occasionally and look at the battery terminals. White, blue, or greenish buildup can interfere with electrical contact and contribute to starting problems. With the vehicle off, clean light corrosion using a battery-terminal cleaner or a careful baking-soda-and-water solution, then dry the area thoroughly.
Wear eye protection and avoid letting tools touch both battery terminals or a terminal and nearby metal at the same time. If the battery case is swollen, cracked, leaking, or repeatedly goes dead, do not treat cleaning as the fix. Have the charging system and battery tested.
10. Keep the interior and exterior clean enough to inspect
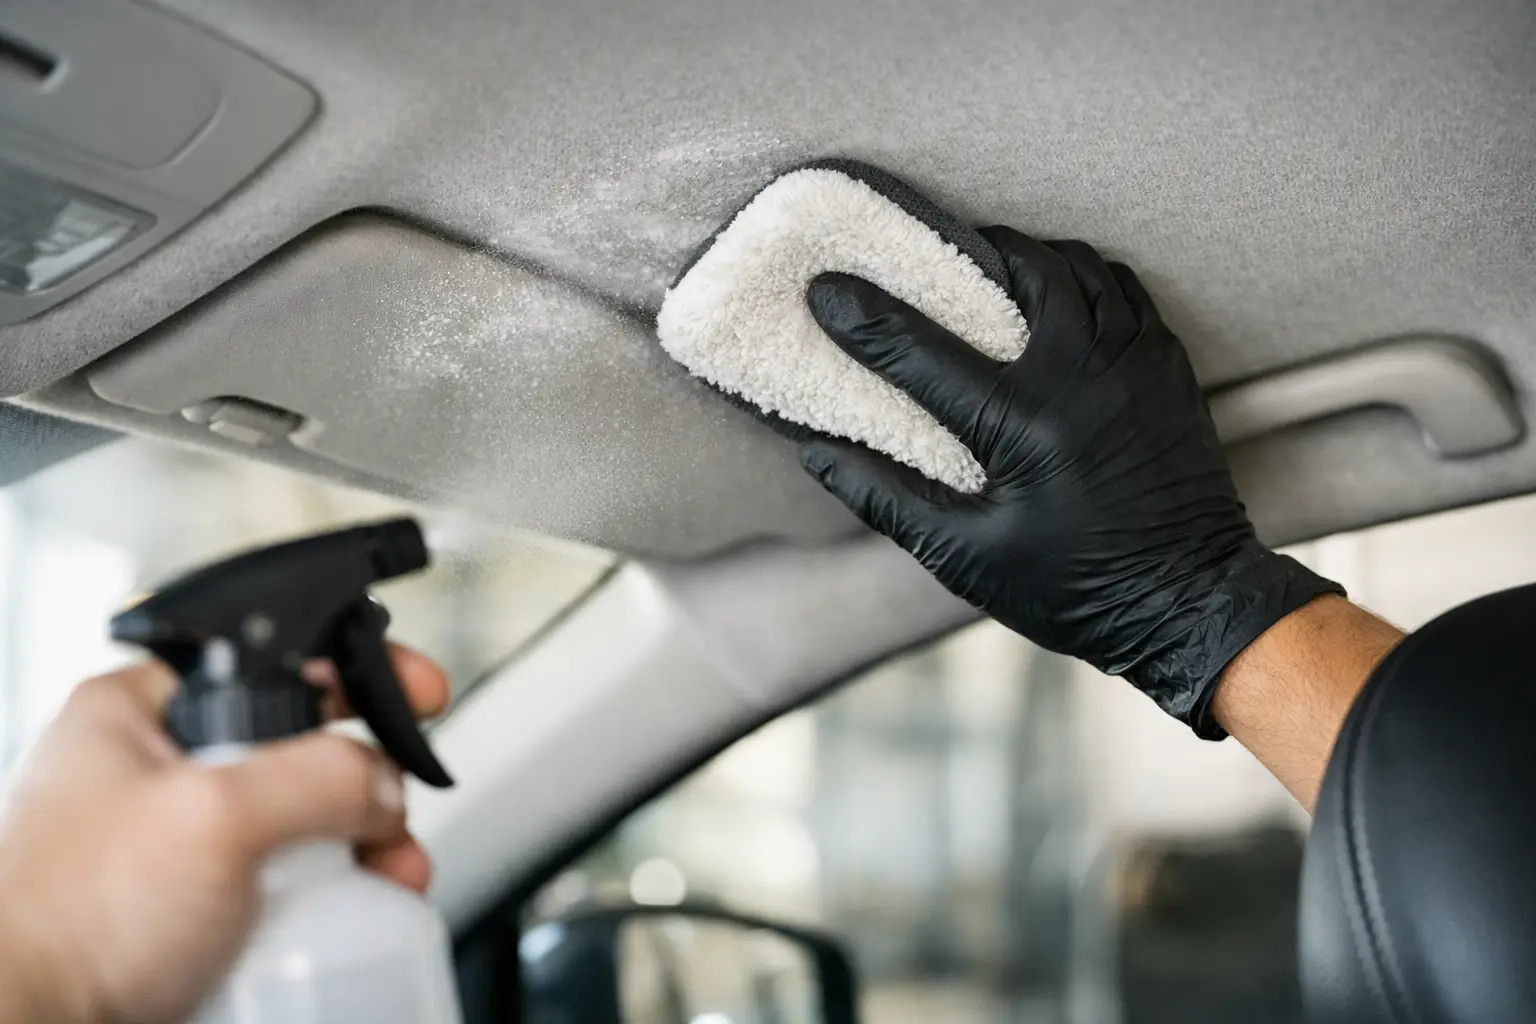
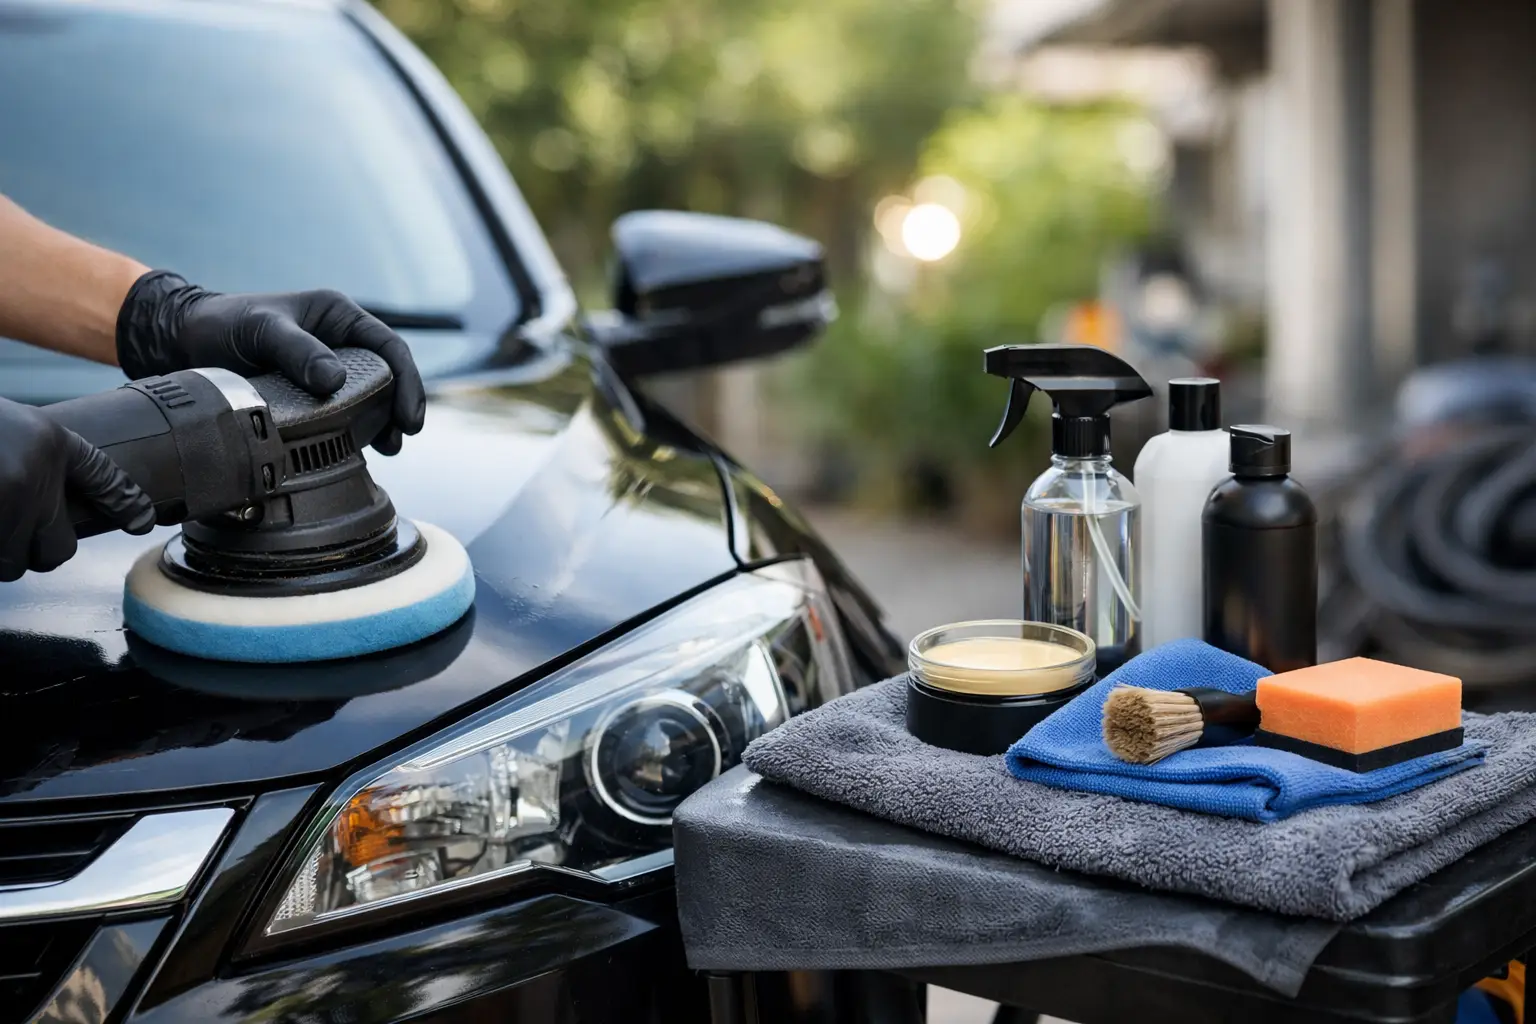
Cleaning is practical maintenance, not just presentation. Vacuuming regularly prevents grit from grinding into carpet and upholstery. Wiping spills quickly reduces staining and lingering odors. On the outside, washing away road salt, bird droppings, tree sap, and brake dust protects paint, wheels, and trim from premature damage.
A clean car also makes leaks and defects easier to find. Fresh oil spots on the driveway, a cracked sidewall, chipped paint, or a loose weatherstrip is easier to notice when dirt is not hiding it. Use car-specific cleaners on painted surfaces and interior materials, since harsh household products can dull trim or damage protective coatings.
Know When DIY Should End
Beginner maintenance should build confidence, not encourage risky shortcuts. Leave brake hydraulic work, airbag components, major electrical diagnosis, suspension repairs, fuel-system work, and anything requiring you to work beneath a poorly supported vehicle to trained technicians. A floor jack lifts a car, but it is not a substitute for properly placed jack stands.
The same rule applies to warning lights. A loose gas cap can trigger a check-engine light, but a flashing check-engine light, overheating warning, oil-pressure warning, or brake warning requires immediate attention. If the vehicle drives differently, makes severe noises, smells like burning, or leaks fluid heavily, stop driving when it is safe to do so.
The best habit is not trying to do everything yourself. It is paying close enough attention that small jobs stay small, and knowing when a professional diagnosis protects both your car and your safety.