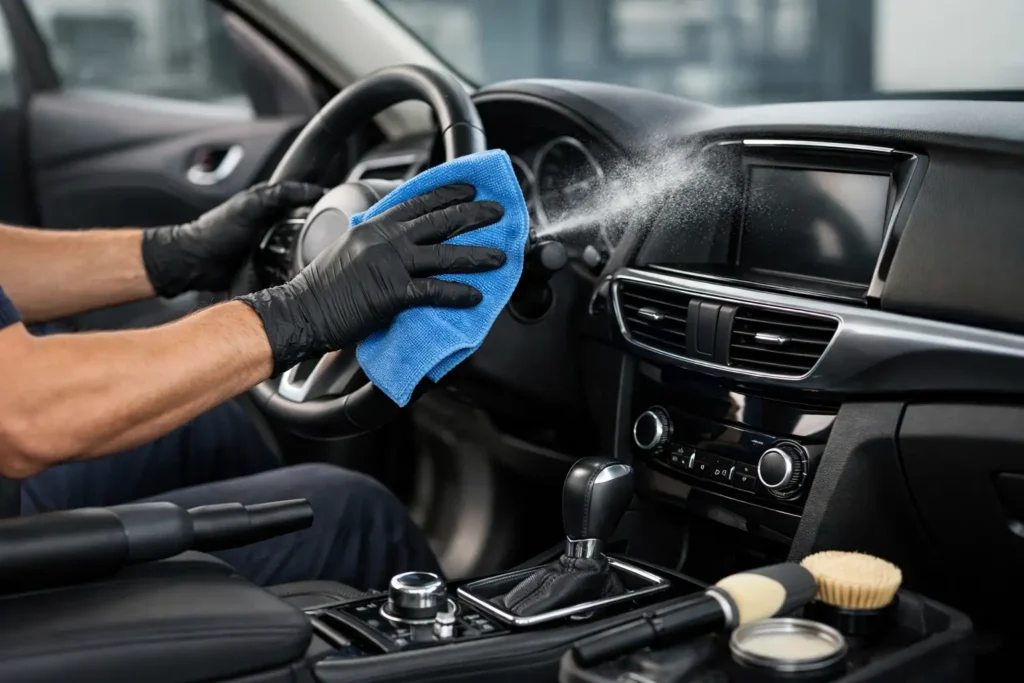

A clean cabin changes more than how your vehicle looks. It makes commutes more comfortable, removes grit that wears down upholstery, and can help protect resale value when it is time to sell or trade in. Learning how to detail a car interior is less about owning expensive tools and more about cleaning in the right order, using products sparingly, and knowing when a surface needs gentle treatment.
The biggest mistake most DIY detailers make is spraying cleaner everywhere and hoping a towel will handle the rest. That approach can leave residue on touchscreens, soak seat cushions, and push dirt deeper into seams. A better process works from dry debris to wet cleaning, then finishes with protection.
What You Need Before You Start
For a thorough interior detail, gather a vacuum with crevice and brush attachments, several clean microfiber towels, a soft detailing brush, an interior-safe cleaner, glass cleaner, and a separate product suited to your seat material. A soft upholstery brush is helpful for cloth seats and carpet, while leather seats need a pH-balanced leather cleaner and, if recommended by the seat manufacturer, a conditioner.
Avoid household all-purpose cleaners, bleach, ammonia-based products on screens, and stiff brushes on delicate trim. These can discolor plastics, damage protective coatings, or leave interiors looking shiny in a way that creates windshield glare.
Park in the shade or work in a garage whenever possible. Heat causes cleaners to dry too quickly, making them harder to wipe away evenly. Open the doors for ventilation, especially if you are cleaning carpets or upholstery.
How to Detail a Car Interior Step by Step
1. Remove Trash and Personal Items
Start with an empty cabin. Take out floor mats, loose change, cups, child seats if practical, and anything stored in the door pockets, center console, or trunk area you plan to clean. Check beneath the seats carefully. Small items often roll under seat tracks, and those tracks collect more dirt than most owners expect.
Emptying the vehicle first also keeps you from cleaning around clutter. Set aside anything you intend to put back, then discard the rest.
2. Vacuum From Top to Bottom
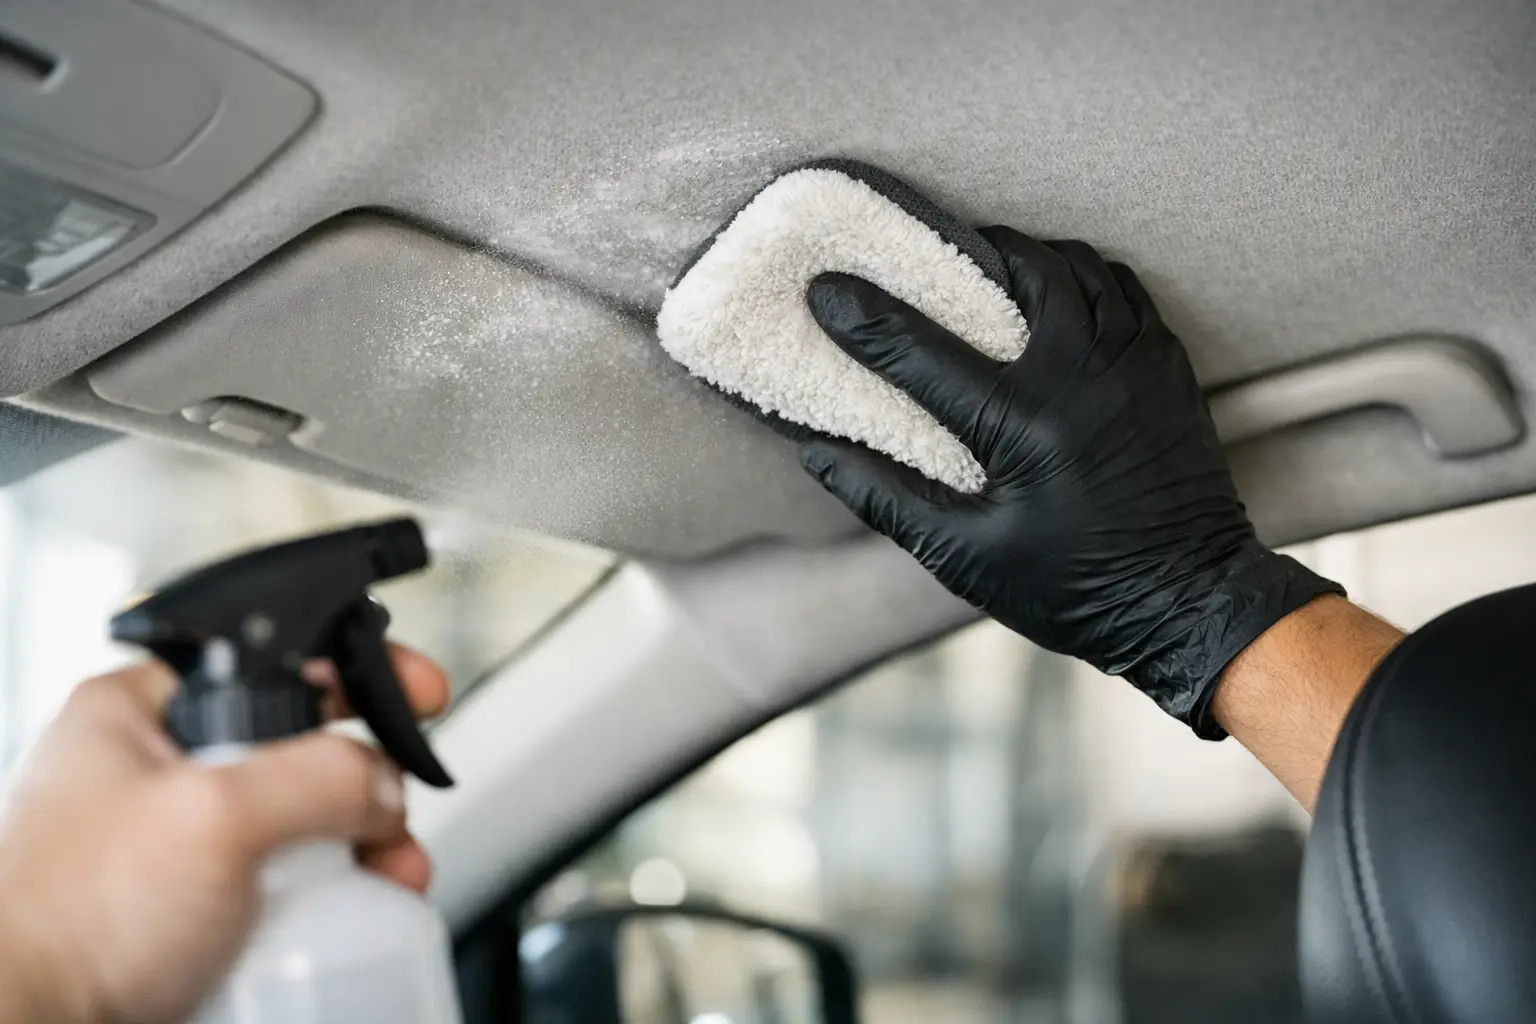
Vacuuming is the foundation of a good interior detail. Begin with the headliner only if it has visible loose dust, using a brush attachment and very light pressure. Do not scrub the headliner. Its fabric is bonded with adhesive, and too much moisture or friction can cause it to sag.
Move to the dashboard, vents, seats, door panels, carpet, and finally the floor mats. Use a soft brush to loosen dust from vents, stitching, cup holders, and console seams while holding the vacuum nozzle nearby. For carpets, make slow overlapping passes rather than quick sweeps.
Slide the front seats forward and backward to reach the carpet underneath. If you have pet hair embedded in fabric, a rubber brush or slightly damp rubber glove can help gather it before another vacuum pass.
3. Clean Floor Mats Separately
Rubber mats are straightforward: vacuum or rinse them, scrub with a mild cleaner if needed, rinse again, and let them dry completely. Do not reinstall wet mats because trapped moisture can create odors and encourage mildew in the carpet below.
Carpet mats need a lighter touch. Vacuum both sides, treat stains individually, and use a carpet or upholstery cleaner sparingly. Work the cleaner with a brush, blot away loosened soil with a towel, and allow the mats to air dry. Saturating them may leave water marks or a musty smell.
4. Wipe Down Hard Surfaces
Spray your interior cleaner onto a microfiber towel, not directly onto the dashboard or controls. This gives you better control and reduces the chance of liquid entering buttons, switches, speaker grilles, or electronic displays.
Wipe the dashboard, steering wheel, door panels, center console, cup holders, and trim. Use a soft brush for textured plastic and tight seams, then follow with a clean towel to remove residue. The steering wheel, turn-signal stalk, gear selector, and door pulls deserve extra attention because they collect skin oils and hand lotion.
A matte, clean finish is the goal. Heavy dressings can make vinyl and plastic slippery or reflective, which is not ideal around the steering wheel and windshield.
5. Clean Cloth Seats and Carpet Stains Carefully
For cloth upholstery, identify stains before applying cleaner across the whole seat. Food spills, coffee, grease, and ink may need different treatment, so start with an upholstery cleaner labeled for automotive fabric. Test it on a hidden area first.
Apply a small amount to a towel or brush, gently work the affected area, then blot with a dry microfiber towel. Do not aggressively scrub one spot for too long, as that can roughen the fibers and leave a noticeable patch. For broad dirty areas, clean the entire panel or seat section lightly so the color dries evenly.
If the seats are heavily stained or smell damp, a dedicated extractor can be worthwhile. For occasional cleaning, though, careful spot treatment and thorough drying are usually enough.
6. Treat Leather, Vinyl, and Synthetic Seats Based on Material
Not every smooth seat is leather. Many modern vehicles use vinyl, synthetic leather, or mixed materials, and some have coated leather that does not need frequent conditioning. Check your owner’s manual if you are unsure.
For genuine leather, use a leather-safe cleaner on a towel or soft brush, then wipe dry. Apply conditioner only when the product is appropriate for your seat type and use a thin, even layer. Too much conditioner can leave seats slick and attract dust.
For vinyl and synthetic surfaces, an interior cleaner designed for those materials is generally the safer choice. Avoid products that promise a wet, high-gloss look. They may feel greasy and can transfer onto clothing.
7. Clean Screens, Gauges, and Interior Glass Last
Modern infotainment screens often have delicate anti-glare or anti-fingerprint coatings. Use a dry, clean microfiber first. If marks remain, lightly dampen the towel with a screen-safe cleaner or distilled water, then wipe gently. Never spray the screen directly.
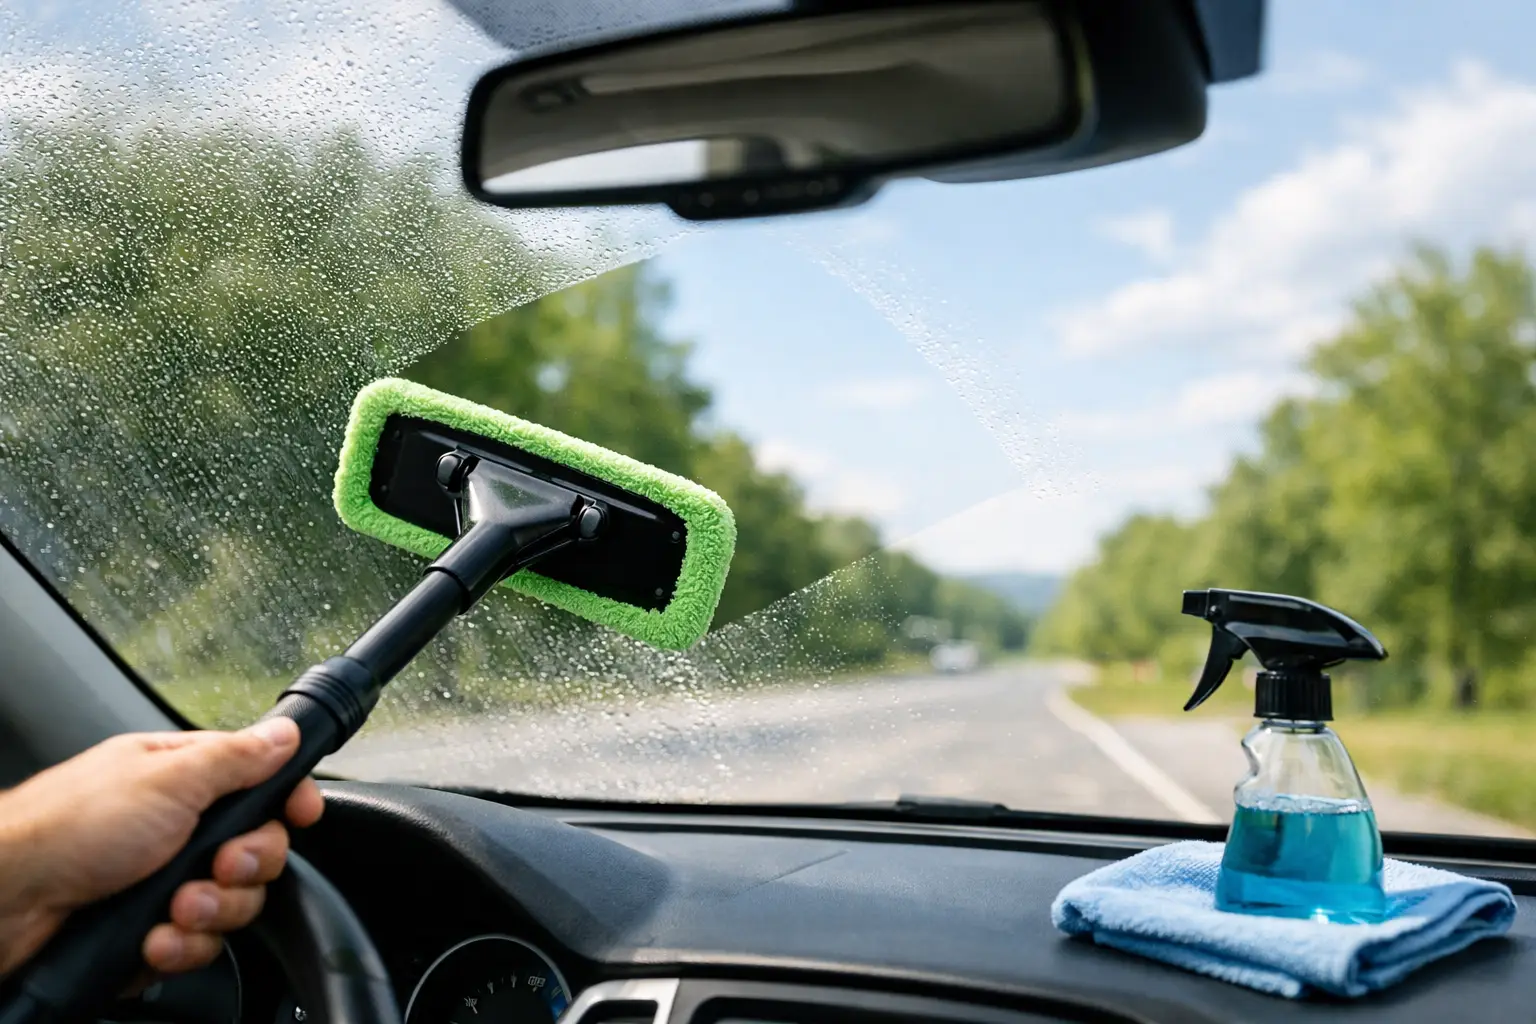
Use automotive glass cleaner for the inside of the windshield, side windows, and rear glass. A second dry microfiber towel helps remove haze. Cleaning the inside of the windshield is especially worthwhile because film from plastics, smoke, and cabin air can reduce visibility in low sun or at night.
8. Dry, Inspect, and Put Everything Back
Leave doors or windows open until carpets, seats, and mats are fully dry. Then inspect the cabin in natural light. Look for missed crumbs in seat seams, cleaner residue around buttons, streaks on glass, and damp areas near stains.
Reinstall dry floor mats and return only the items you genuinely need in the vehicle. Keeping the cabin less cluttered makes the next cleanup faster.
Common Interior Detailing Mistakes to Avoid
The right product can still cause problems when used incorrectly. Avoid soaking cloth seats or carpet, because moisture can reach the padding and take days to dry. Do not use a single dirty towel on every surface either. Once a towel is loaded with grime, it can spread that dirt onto cleaner areas.
Be cautious around airbags, seat-mounted electronics, and power-seat controls. Lightly damp towels are safer than spraying liquid near these components. If a stain has soaked deep into a seat cushion, smells persist after cleaning, or mold is visible, professional help may be the better choice.
Keep the Interior Clean Between Details
A full detail does not need to happen every weekend. For most daily drivers, vacuuming once or twice a month and wiping touchpoints weekly will prevent buildup. Families, pet owners, rideshare drivers, and people who park outdoors may need a more frequent routine.
Keep a small microfiber towel and a bag for trash in the vehicle. Taking 30 seconds to wipe a spill or remove food wrappers can save an hour of stain removal later. Consistent care is what keeps an interior feeling comfortable, healthy, and worth protecting.