
That gray film on the inside of your windshield, the crumbs under the seats, and the brake dust baked onto your wheels do more than make your car look tired. They make every drive less pleasant and can speed up wear on materials you would rather not replace. Car detailing is the process of cleaning, protecting, and restoring those surfaces with more care than a quick drive-through wash.
You do not need a cabinet full of specialty products or a full Saturday every month to get meaningful results. What matters most is using the right order, choosing products that match the surface, and knowing where a little extra effort pays off. A sensible DIY routine can keep your vehicle more comfortable, help preserve resale value, and make the next deep clean much easier.
What Car Detailing Actually Includes
A basic wash removes loose dirt from the exterior. Detailing goes further by addressing areas that routine washes miss: wheel barrels, door jambs, interior plastics, upholstery, glass, paint contamination, and protective finishes. The goal is not necessarily to make an older daily driver look showroom-new. It is to clean each surface safely and protect it from avoidable damage.
The level of work depends on the car and its condition. A commuter vehicle that is cleaned regularly may only need a thorough interior reset, wheel cleaning, wash, and paint protection. A used vehicle with stained seats, neglected carpets, rough-feeling paint, or cloudy glass may need several sessions. Trying to handle every problem at once often leads to rushed work and missed areas.
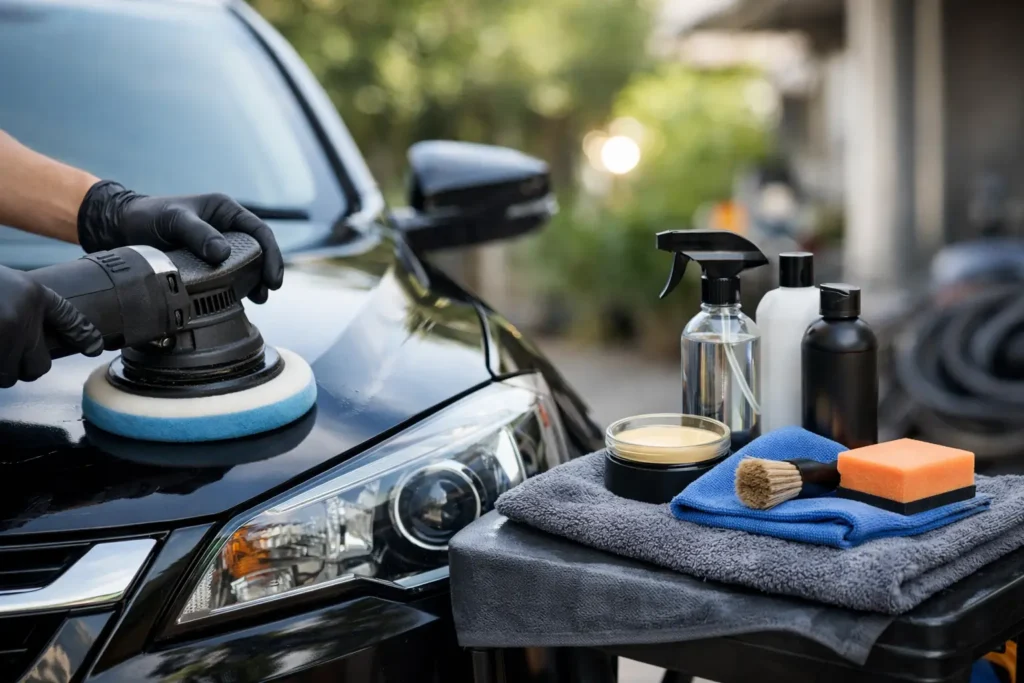
Detailing also differs from paint correction. Paint correction uses polishing equipment and abrasives to reduce scratches, swirl marks, and oxidation. It can produce a major visual improvement, but it removes a small amount of clear coat and requires more skill. For most owners, careful washing and a quality protectant provide the best balance of results, cost, and risk.
Start With the Right Conditions and Supplies
Work in the shade whenever possible, with the paint cool to the touch. Direct sun causes water and cleaners to dry too quickly, which can leave spots and streaks. Avoid detailing when freezing temperatures are expected or when you cannot give the car time to dry properly.
A beginner-friendly kit does not have to be complicated. You will get through most jobs with these basics:
- Car wash soap, two buckets, grit guards if available, and a soft wash mitt
- Separate wheel cleaner, wheel brush, and tire brush
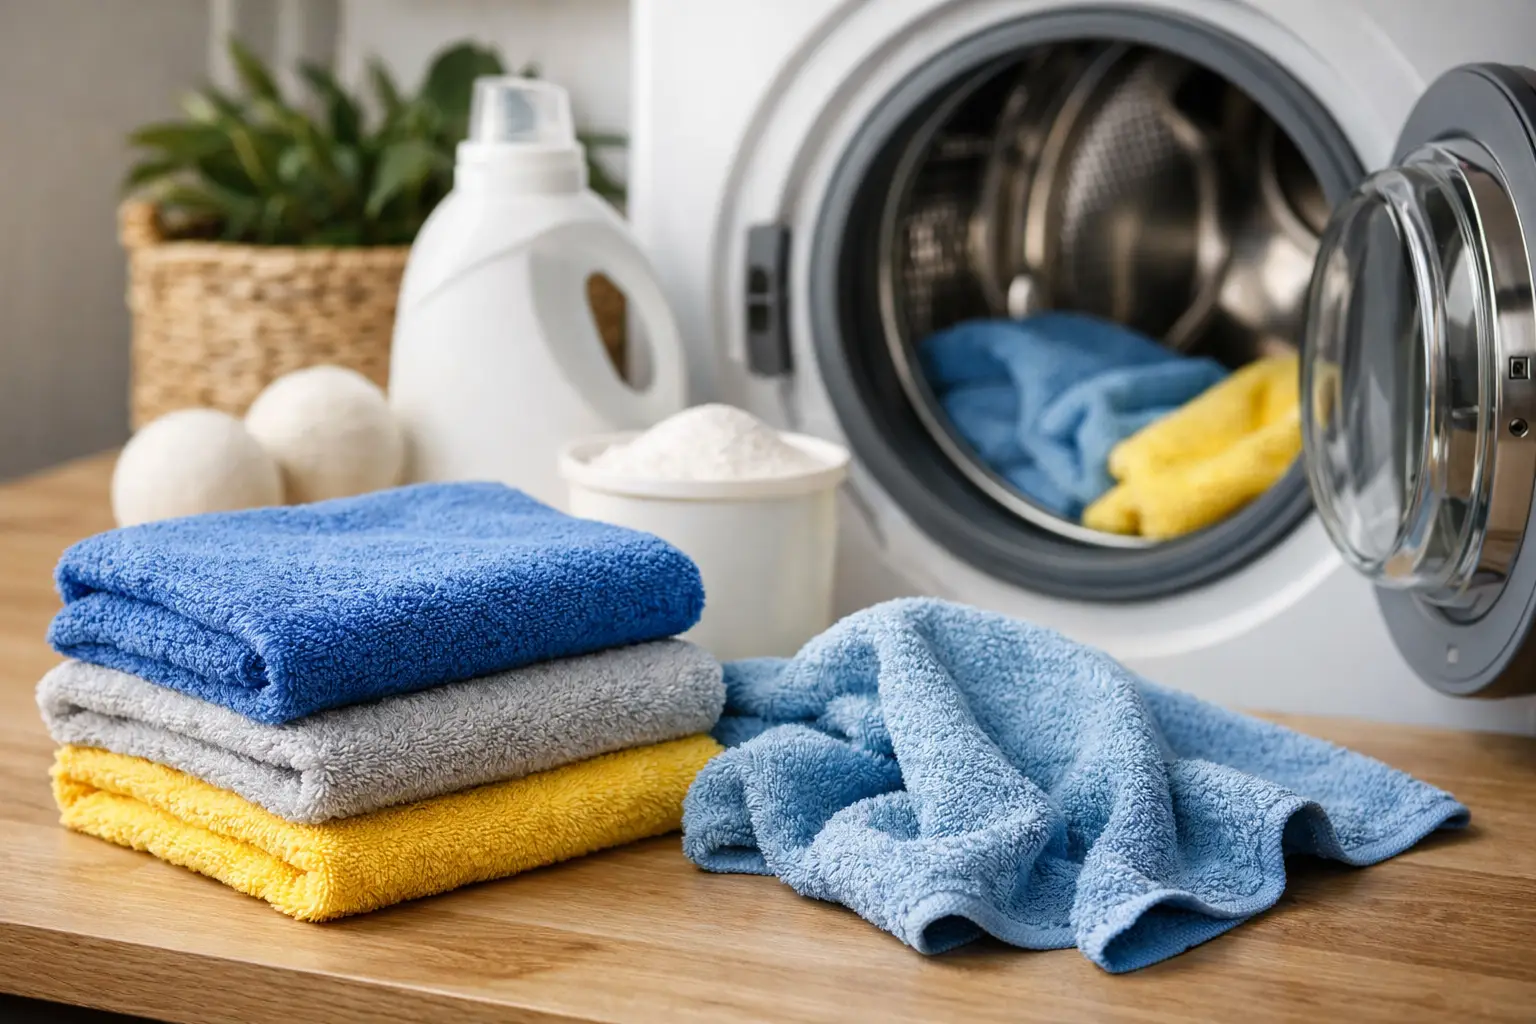
- Several clean microfiber towels for drying, glass, interior surfaces, and product application
- Interior cleaner, a soft detailing brush, and a vacuum with crevice attachments
- Spray wax or paint sealant, plus a tire protectant if you want a finished look
The separation between tools matters. Do not use the towel that cleaned wheels on your paint, and do not use a greasy interior towel on glass. Labeling towels or keeping them in separate piles prevents a common source of scratches and streaks.
A Car Detailing Order That Prevents Extra Work
The most efficient routine moves from the dirtiest work to the cleanest, and from high areas to low areas. Start by removing floor mats, personal items, and trash from the cabin. This gives you access to the areas where dirt collects and prevents you from cleaning around clutter.
Clean wheels and tires first
Wheels are usually the dirtiest part of the vehicle. Brake dust can be corrosive over time, especially on neglected wheels, so clean them before washing the paint. Use a cleaner designed for wheels and follow its directions. Some formulas are safe for most factory finishes, while others are too aggressive for bare or damaged metal.
Work one wheel at a time. Spray the cleaner, agitate the tire sidewall and wheel face with separate brushes, rinse thoroughly, then move on. Letting wheel cleaner dry can stain or leave residue. If your wheels are hot, wait until they cool down before applying any chemical.
Wash without grinding dirt into the paint
Rinse the entire vehicle first to remove loose grit. Then wash from the roof downward using car wash soap, not dish soap. Dish soap can strip existing waxes and dry out trim, while car wash soap is formulated to provide lubrication as the mitt moves across the paint.
Load your mitt with soapy water, clean a small section, and rinse the mitt in a separate bucket before returning it to the soap. This two-bucket method is simple, but it reduces the chance of dragging trapped dirt across the clear coat. Save lower doors, rocker panels, and the rear bumper for last because they collect the most road grime.
Rinse again and dry with clean microfiber drying towels. Pat or gently glide the towel across the paint rather than pressing hard. A dedicated drying aid can add lubrication, but careful towel handling is more important than adding another product.
Decontaminate only when the paint needs it
After washing, run clean fingertips inside a thin plastic bag over the paint. If the surface feels rough, it likely has bonded contamination such as rail dust, tree residue, or industrial fallout. A clay mitt or clay bar can remove this contamination and leave the paint smoother.
Clay is useful, but it is not a weekly step. It can create light marring if used aggressively or without enough lubricant. Use it once or twice a year as needed, then apply protection afterward. If the paint already has noticeable swirls, skip aggressive DIY polishing unless you are prepared to learn the process on a less visible panel first.
Protect the finish
A spray wax or spray sealant is an approachable final step for most owners. It improves water behavior, adds gloss, and makes future washing easier. Apply a small amount to a clean microfiber applicator or towel, work panel by panel, and buff away residue before it dries too long.
Expect different products to make different promises. Traditional wax may offer warm-looking gloss but generally shorter durability. Synthetic sealants often last longer and are easier to apply. Ceramic coatings can provide longer protection, but proper prep is critical and the term is sometimes used loosely in product marketing. A quality spray protectant applied regularly is often the practical choice for a daily driver.
Give the Interior More Attention Than Air Freshener
A clean interior should feel clean, not merely smell covered up. Vacuum first, including under the seats, between cushions, trunk corners, and floor mat edges. Move the front seats forward and backward to reach the debris that builds up on seat tracks and carpet.
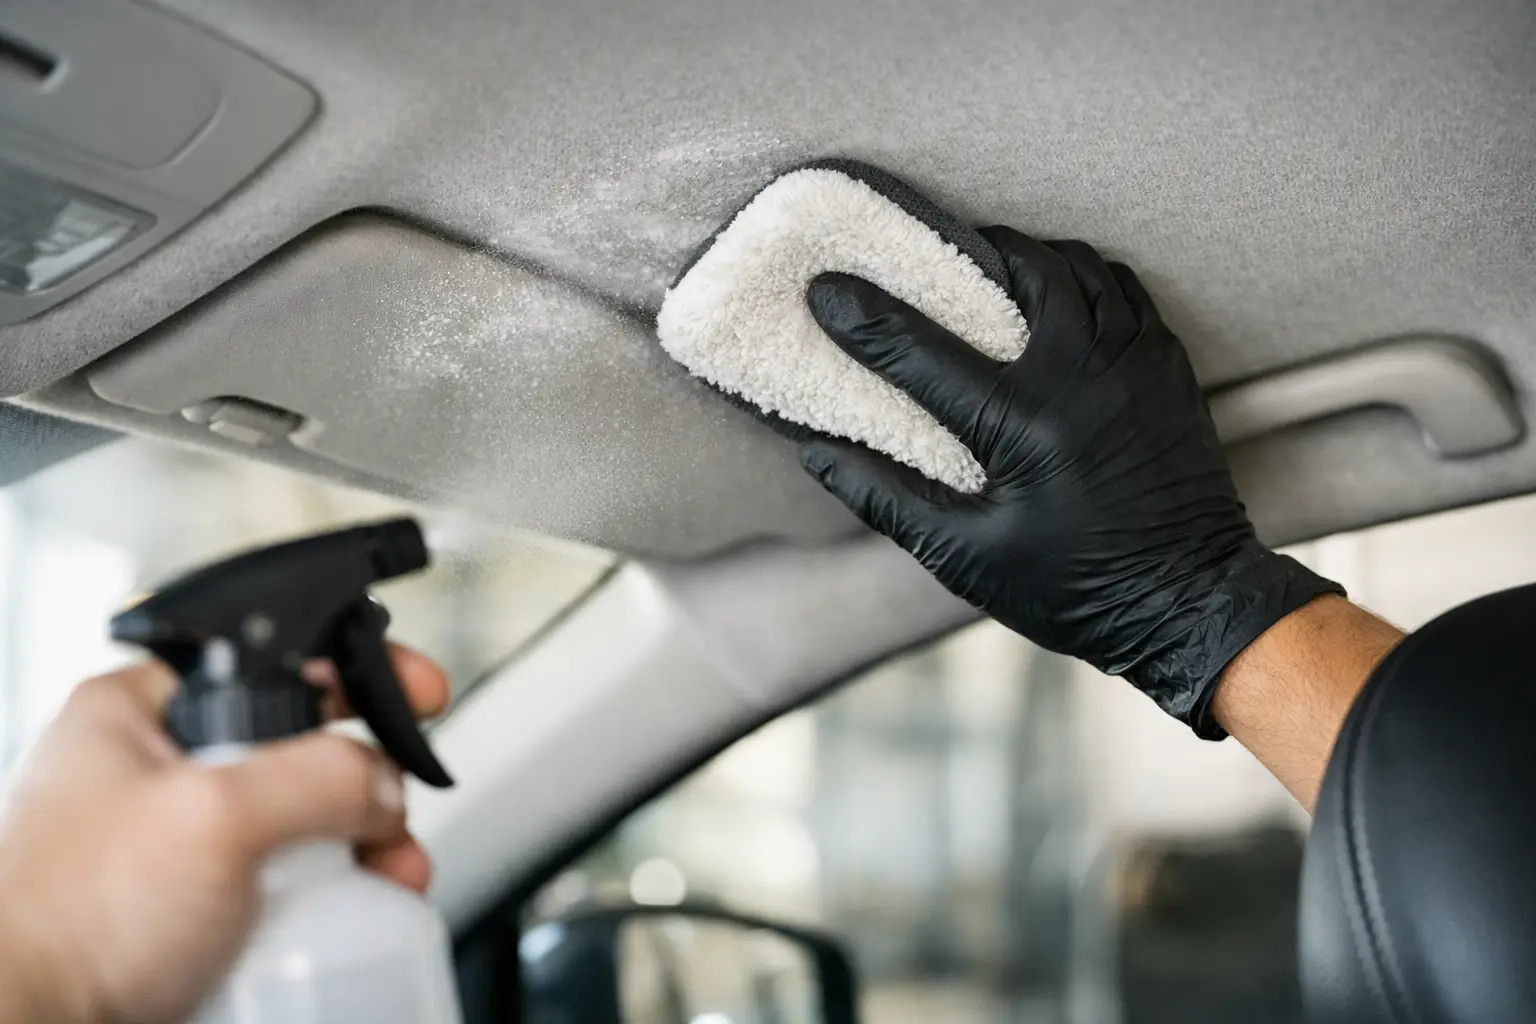
Use a mild interior cleaner on a microfiber towel rather than spraying heavily onto dashboards, screens, switches, or door panels. Excess liquid can run into seams and electronics. A soft brush helps lift dust from textured plastic, vents, stitching, and cup holders, then a dry towel can collect the loosened debris.
For fabric seats and carpeting, treat stains before shampooing everything. Blot fresh spills rather than rubbing them deeper into the fibers. Use an upholstery cleaner appropriate for the material, work gently, and avoid soaking the padding. Too much moisture can create lingering odors and may take days to dry.
Leather needs a separate approach. Most modern automotive leather has a protective top coating, so harsh cleaners and heavy oils are unnecessary. Use a leather-safe cleaner, wipe dry, and apply a light conditioner only if the product directions support it. Matte or satin surfaces should stay matte. Shiny dashboards may look dressed up in photos, but they can create windshield glare while driving.
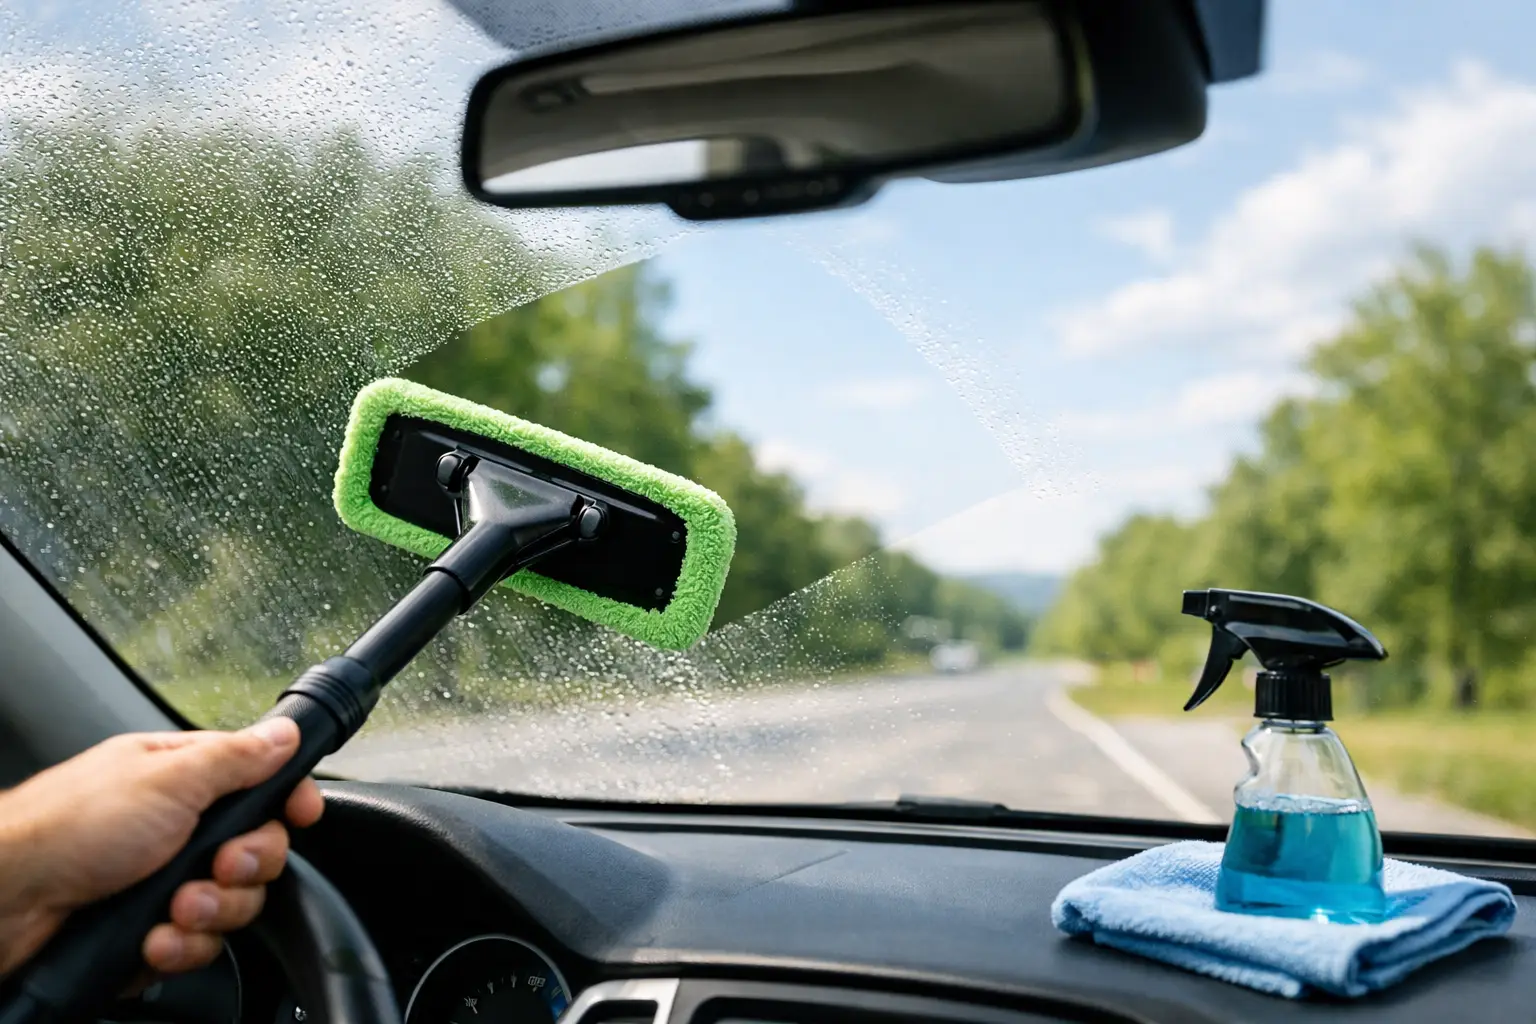
Finish the interior with glass. Clean the inside of the windshield last because it collects film from ventilation, plastics, and road dust. Use a dedicated automotive glass cleaner and two towels: one to clean and one to buff. Fold the towel into sections so you always have a dry surface available. If streaks remain, the towel is often the problem, not the cleaner.
Know When to Call a Professional
DIY detailing is a good fit for routine cleaning and protection, but some situations call for professional help. Deep pet odors, mold, flood damage, severe paint oxidation, extensive scratches, or stained headliners can become more expensive when treated incorrectly. Paint correction and coating installation also involve tools, lighting, and technique that take practice.
A professional detail can still be worthwhile as a reset, especially after buying a used car. You can then maintain the results yourself with regular washing, vacuuming, and spot cleaning. That approach often costs less than repeatedly paying for full-service packages while keeping the car in better condition between appointments.
Set a realistic routine based on how you use your vehicle. A weekly trash removal and quick vacuum, a proper wash every few weeks, and a deeper interior and exterior session each season will prevent most buildup. The best detailing routine is not the most elaborate one. It is the one you can repeat before dirt, stains, and neglect become a bigger job.