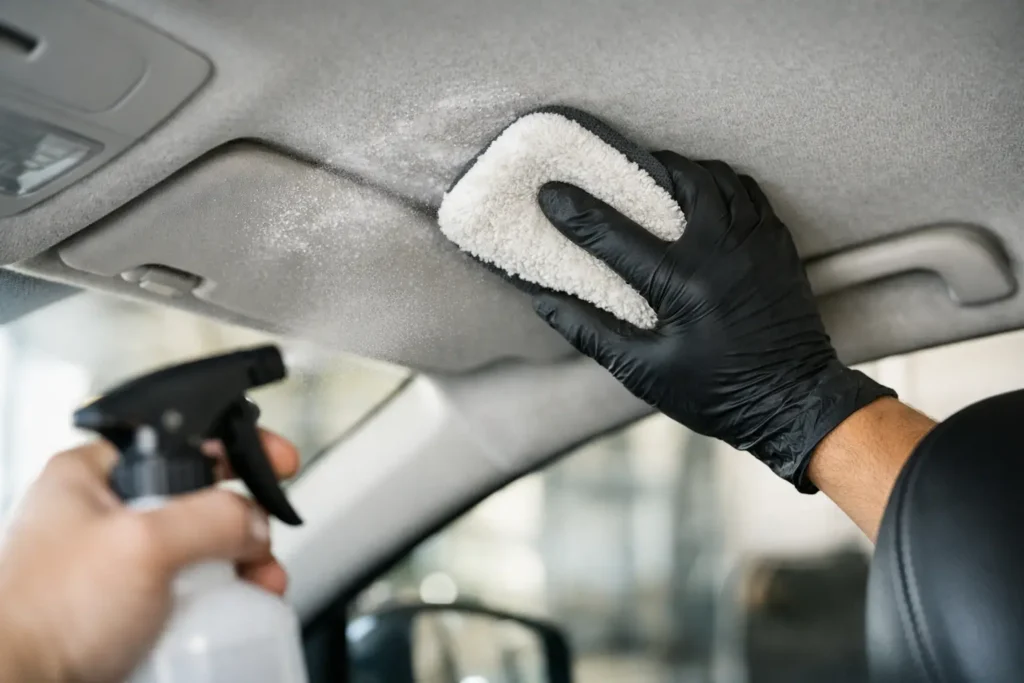

A dirty headliner can make an otherwise clean interior feel neglected fast. The problem is that the fabric above your head is not built to handle the same scrubbing, soaking, or steam you might use on seats and carpet. To clean car headliner safely, you need to remove grime with as little moisture and pressure as possible.
Most headliners are a thin fabric bonded to foam backing, which is then glued to the roof panel. Too much liquid can soak through the fabric, weaken that adhesive, and cause sagging that is much harder and more expensive to fix than a stain. The safest approach is patient, light cleaning rather than trying to make the whole surface look brand-new in one pass.
Why car headliners need a different cleaning method
Your vehicle’s headliner may collect fingerprints, smoke residue, food odors, makeup, pet hair, and dust. Light-colored headliners also show marks around grab handles, visors, and the edges of the doors. But unlike removable floor mats, the headliner stays attached to the roof and has a delicate layer of foam underneath.
That foam is the reason aggressive cleaning is risky. Saturating the fabric can allow water or cleaner to reach the adhesive. Brushing hard can stretch, pill, or separate the material. High heat from a steamer may also soften the glue. Even if the fabric looks clean immediately afterward, a loose corner or sagging section can appear days later as the moisture works through the backing.
For that reason, use the least aggressive method that can address the problem. Dry cleaning works for dust and fresh debris. Spot cleaning is better for isolated marks. A lightly foamed upholstery cleaner may help with broader discoloration, but it should be used sparingly and never sprayed heavily overhead.
What you need before you clean a car headliner safely
Gather your supplies before starting so you do not have to leave cleaner sitting on the fabric. A vacuum with a soft brush attachment, clean microfiber towels, a soft detailing brush, and a mild upholstery or interior fabric cleaner will handle most jobs. Keep a small bowl of clean water nearby if the product requires rinsing or dilution.
Avoid household glass cleaner, bleach, heavy degreasers, and strong all-purpose cleaners unless the label specifically says they are safe for automotive interior fabric. These products can leave rings, discolor the material, or create a residue that attracts more dirt. You should also skip stiff brushes, dripping wet towels, and large amounts of water.
Before cleaning any visible area, test your chosen product on a small spot near the edge of the headliner, such as above a rear door. Let it dry fully. Watch for fading, water marks, or a change in texture before moving forward.
Start with dry removal, not cleaner
Vacuuming is the first step and sometimes the only one needed. Use a soft brush attachment and move it gently in one direction. Do not press the vacuum nozzle directly into the fabric, and do not pull on loose threads or edges.
If you do not have a vacuum brush attachment, lightly wipe the headliner with a clean, dry microfiber towel. Work from the front of the cabin toward the rear, using broad, straight passes. This lifts loose dust without grinding it farther into the fabric.
For pet hair or lint, a lint roller can work well on sturdy woven headliners. Use very light pressure and avoid repeatedly rolling the same spot, especially if the material looks thin, fuzzy, or already loose.
How to spot-clean stains on a headliner
A small fingerprint, splash mark, or food stain should be treated as a spot-cleaning job. The key is to put cleaner on your towel or brush, not directly on the headliner. Spraying upward makes it easy to apply too much product, and overspray can land on glass, trim, and electronics.
First, mist a microfiber towel with a small amount of cleaner until it is barely damp. Blot the stain rather than rubbing it. Start at the outside edge and work toward the center so you do not spread the mark into a larger ring.
If the stain remains, apply a small amount of cleaner to a soft detailing brush. Gently agitate the affected area with short, light strokes, then blot it with a dry microfiber towel. Do not scrub back and forth with force. Repeat once or twice if needed, allowing the area to dry between attempts.
Stains caused by grease, makeup, or nicotine can take more than one light treatment. That is normal. Several controlled passes are much safer than trying to remove a stubborn stain with a soaked towel in a single session.
Treat common headliner stains carefully
Fingerprints and light dirt usually respond to a lightly damp microfiber towel and gentle blotting. For oily marks, use an automotive upholstery cleaner designed to lift oils, but keep the product amount low. A water-based cleaner is generally the safer choice for most fabric headliners.
For beverage stains, blot any residue first, then use a small amount of fabric cleaner. Sugary spills can leave a sticky patch that keeps attracting dirt, so follow the product instructions for wiping away residue. If a stain has set for months or years, accept that complete removal may not be realistic without risking the headliner.
Smoke odor is different from a visible stain. Wiping the fabric may reduce surface residue, but odor can also be trapped in the seats, carpet, cabin filter, and HVAC system. Clean the headliner lightly as part of a broader interior-cleaning plan instead of soaking it with fragrance or odor-removal sprays.
Cleaning a larger dirty area without causing sagging
A headliner that looks generally gray or dingy needs extra caution. Rather than treating the entire roof at once, divide it into small sections about the size of a sheet of printer paper. Clean one section, blot it dry, and inspect it before moving on.
Use a foaming upholstery cleaner only if its instructions allow use on delicate automotive fabric. Apply the foam to a microfiber towel or soft brush, then transfer a thin layer to the headliner. The goal is to clean the fibers at the surface, not wet the foam beneath them.
Work with minimal pressure. After a few gentle passes, immediately blot with a clean, dry towel. Change to a fresh section of the towel often. A dirty towel can redeposit grime and leave the headliner looking streaky.
Do not judge the final result until the fabric has dried completely. Damp fabric may look darker in cleaned sections, which can make you think you missed a spot. Open the doors or windows and allow the vehicle to air out. Avoid using a heat gun, hair dryer on high, or a heater aimed directly at the roof.
Mistakes that can ruin a car headliner
The most common mistake is spraying cleaner directly onto the fabric. It feels efficient, but it delivers more moisture than the adhesive layer can safely tolerate. Another frequent problem is steam cleaning. While steam can be useful on some interior surfaces, it is usually too hot and wet for a glued headliner.
Avoid scrubbing with a stiff upholstery brush or a drill brush attachment. These tools may be effective on durable carpet, but the headliner is too thin for that kind of agitation. Also resist the temptation to pull down a sagging section to clean behind it. Once the adhesive has failed, cleaning will not restore the bond.
If your headliner is already drooping, limit cleaning to gentle dry vacuuming and very light spot treatment. Moisture can make an existing separation worse. A sagging headliner usually needs professional reupholstery or replacement, not more cleaning product.
When professional help makes sense
DIY cleaning is a good fit for dust, light fingerprints, minor spots, and mild overall dinginess. Professional detailing may be worth considering if the headliner has widespread nicotine staining, mold concerns, heavy water damage, or severe odors after a leak.
A professional is also the safer choice for luxury vehicles, older cars with fragile materials, and vehicles with a headliner that is beginning to loosen. Ask how they plan to clean it. A careful detailer should describe a low-moisture method rather than promising to saturate and shampoo the fabric.
A clean headliner does more than improve the view inside your car. It helps the cabin feel cared for and can support a better impression when it is time to sell or trade in. Take the gentle route, use less cleaner than you think you need, and let patience do the work.