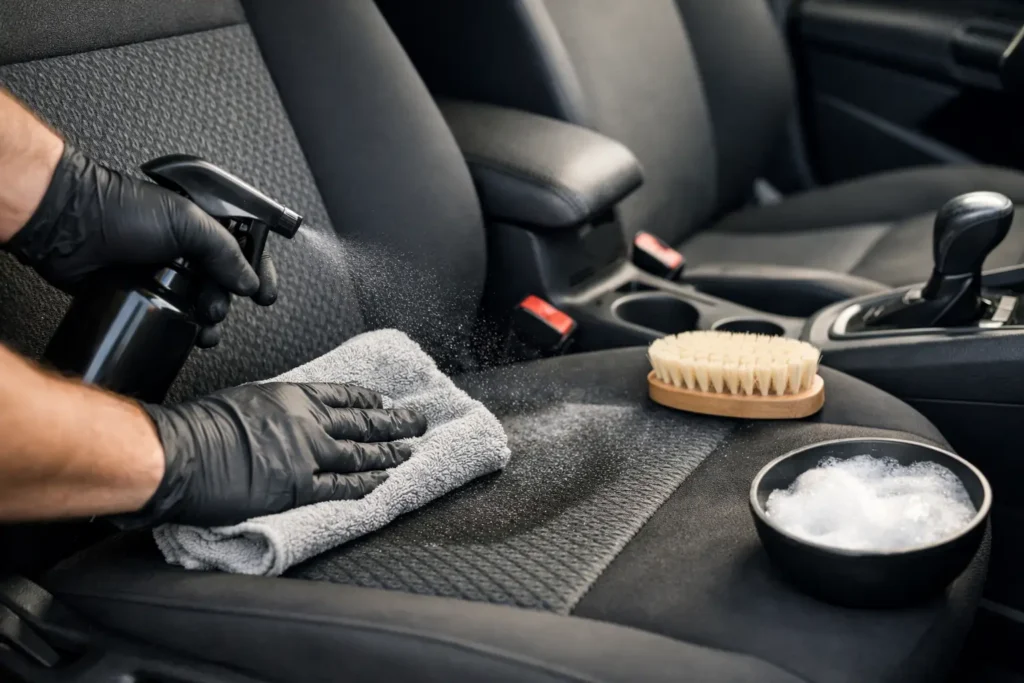

A coffee spill on the driver’s seat or a muddy footprint from the back seat can make an otherwise well-kept vehicle feel neglected. The good news is that you can clean cloth car seats effectively at home without expensive equipment, as long as you use the right amount of moisture and give the fabric time to dry.
The biggest mistake is soaking the upholstery. Cloth seats have padding underneath the surface, and too much water can leave rings, create odors, or encourage mildew if the seat stays damp. A light, controlled cleaning approach usually produces better results than saturating the fabric with cleaner.
What You Need Before Cleaning Cloth Car Seats
Gather your supplies before you start so you are not searching for towels while cleaner is sitting on the fabric. For most routine jobs, you need a vacuum with a crevice tool, microfiber towels, a soft upholstery brush, a spray bottle with water, and an upholstery cleaner made for automotive fabric.
A dedicated fabric cleaner is usually the simplest option because it is formulated to lift dirt without leaving a sticky residue. If you prefer a basic homemade solution for light soil, mix a small amount of mild dish soap with warm water. Keep the mixture weak. Too much soap can be difficult to remove and may make the seat attract dirt faster afterward.
For stains, it also helps to have white towels rather than colored shop rags. A white towel lets you see whether the stain is transferring out of the seat. Avoid colored towels that could bleed dye onto light upholstery.
Before applying any product, check the owner’s manual for upholstery care guidance. Some vehicles use specialty materials, protective coatings, or seat-mounted airbag components that call for extra care. If your seats have perforated inserts, heating, ventilation, or visible electrical connections beneath them, use as little liquid as possible.
Start With a Thorough Vacuum
Vacuuming is not a throwaway first step. Loose grit, crumbs, pet hair, and sand can turn into muddy residue when they are wet. Work slowly across the seat bottom, backrest, bolsters, seams, and the narrow gap where the seat cushion meets the backrest.
Use a crevice tool around seat rails and stitching, then brush stubborn debris toward the vacuum nozzle with a soft brush. If you have pet hair woven into the fabric, a rubber pet-hair brush or clean rubber glove can help pull it to the surface before vacuuming.
This step also gives you a clearer look at the real condition of the fabric. Some seats only need spot treatment and a light refresh. Others have an overall gray or oily appearance from years of use and will benefit from cleaning the complete panel evenly.
Test Your Cleaner First
Choose an inconspicuous area, such as the lower side of a rear seat or the edge beneath the front seat cushion. Apply a small amount of cleaner, gently blot it, and let it dry. Look for fading, discoloration, rough texture, or a water ring before treating a highly visible section.
This takes a few extra minutes, but it is especially worthwhile on light gray, tan, and beige cloth. It is also smart when using a cleaner for the first time or working on an older vehicle with sun-faded upholstery.
How to Clean Cloth Car Seats Step by Step
For general cleaning, work one seat section at a time. Treat the center panel of the seat bottom first, then move to the side bolsters and backrest. Cleaning in manageable sections helps prevent the cleaner from drying before you can remove it.
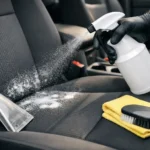
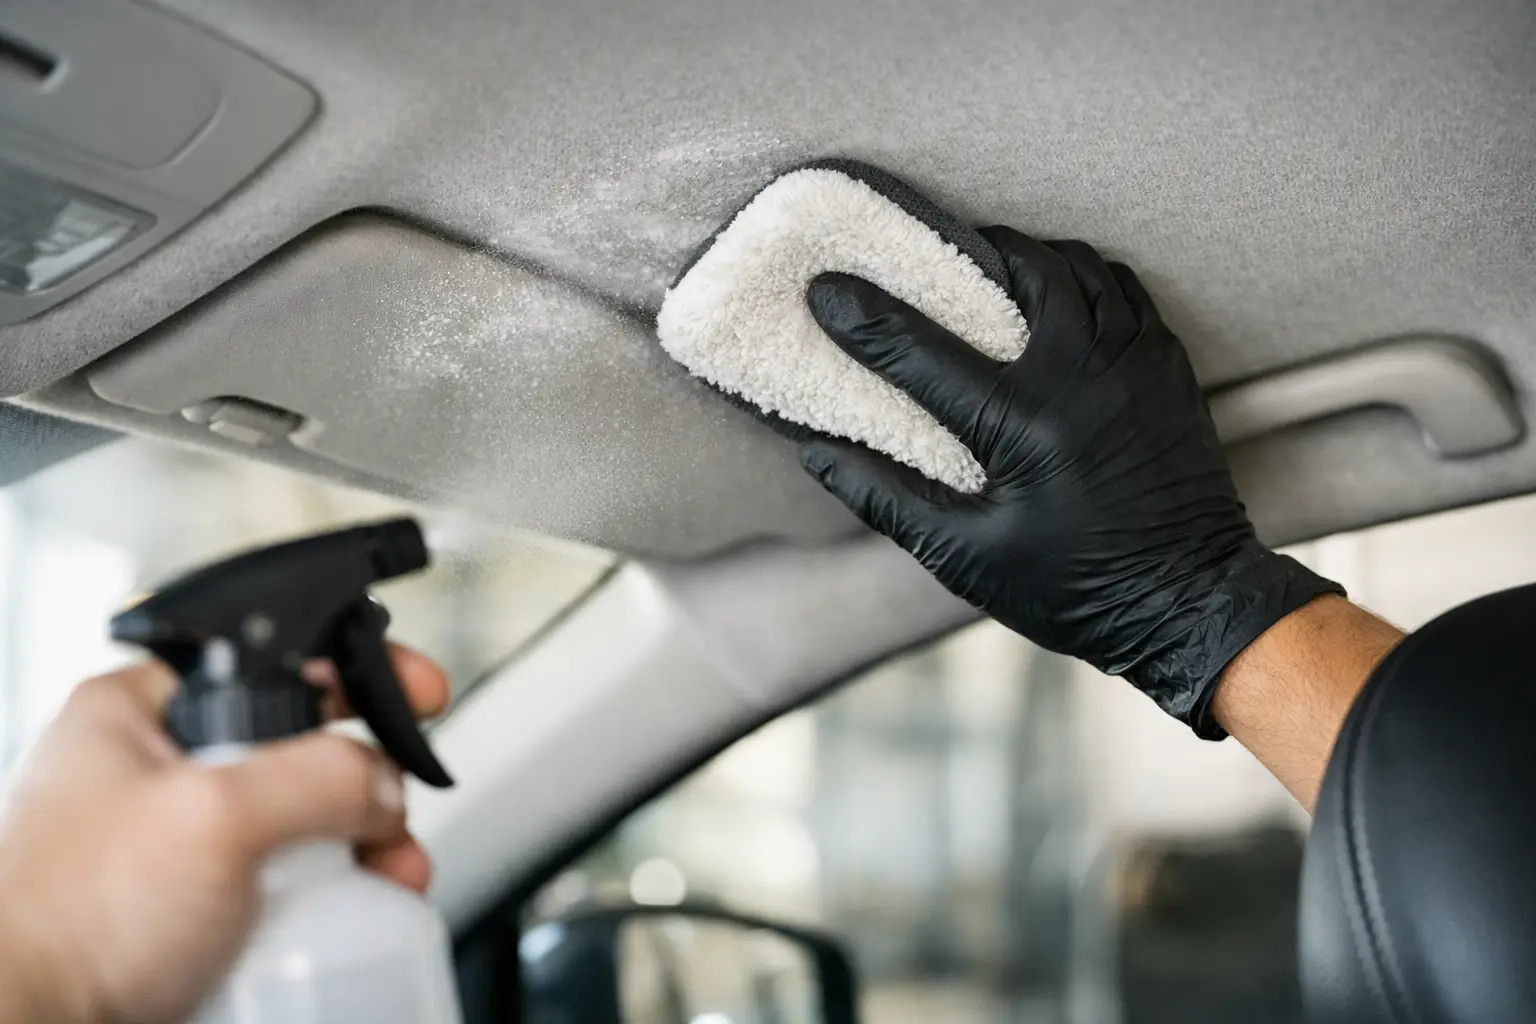
Mist the upholstery cleaner onto your brush or microfiber towel rather than flooding the seat directly. A light spray on the fabric is fine if the product instructions call for it, but the material should feel damp, not saturated. Gently agitate the fabric with the upholstery brush using short overlapping strokes. Do not scrub aggressively, especially around seams and printed or patterned fabric.
After loosening the dirt, blot the area with a clean, dry microfiber towel. Press firmly and lift. Avoid rubbing the towel back and forth, which can spread the soil or push it deeper into the fibers. Repeat with a fresh section of the towel until it is no longer pulling visible dirt from the seat.
If the entire seat has a uniform layer of grime, clean the whole panel from edge to edge. Spot-cleaning only the darkest patch can leave a noticeably cleaner circle against the surrounding fabric. On the other hand, a fresh spill or small isolated stain usually does not require cleaning the entire seat.
When you are finished, use a dry towel to absorb remaining moisture. Leave the windows open in a safe, covered location or run the vehicle’s fan and air conditioning to improve airflow. Depending on humidity and how much cleaner you used, cloth seats may need several hours to dry fully.
Treat Common Seat Stains Without Making Them Worse
Different stains respond best to different methods. The rule that applies to nearly all of them is simple: blot first, then clean. Rubbing a fresh stain can spread it and force it down into the seat padding.
Food and drink spills
For coffee, soda, juice, or food residue, blot up as much liquid as possible with a dry towel. Use a light upholstery-cleaner application, agitate gently, and blot again. Sticky drink spills may require a second pass because sugar can remain in the fibers even after the color disappears.
Grease and body oils
Driver’s seats often develop dark areas where hands, jackets, and skin contact the bolsters. Use an automotive fabric cleaner designed to break down oils, but use it sparingly. Several light applications are safer than one heavy application. Blot thoroughly between passes so the loosened oil does not settle back into the fabric.
Mud and dirt
Let thick mud dry first if possible. Wet mud smears easily and can create a larger stain. Once dry, vacuum or brush away the loose soil, then clean the remaining discoloration with a lightly dampened brush and upholstery cleaner.
Pet accidents and odor stains
For urine, vomit, or other organic messes, remove solids and blot liquid immediately. A fabric-safe enzymatic cleaner can help address the source of the odor rather than simply covering it with fragrance. These stains can reach the padding, so avoid adding excessive water. If odor remains after careful treatment, professional extraction may be the better choice.
Ink and dye transfer
Ink, denim dye, and makeup can be difficult because they may spread when treated with the wrong solvent. Start with a fabric-safe spot cleaner and a white towel. Work from the outer edge of the stain toward the center. If the stain continues transferring heavily or the fabric color begins lifting, stop rather than escalating to harsh household chemicals.
Avoid Water Marks and Stiff Fabric
Water marks usually happen when one section of a seat gets much wetter than the surrounding fabric or when dirty moisture dries at the edges of a cleaned spot. The best prevention is even, low-moisture cleaning and complete blotting.
If a ring appears after drying, lightly clean the entire affected panel rather than re-wetting only the center of the ring. Blend the treatment outward with a barely damp microfiber towel, then blot it dry. This often evens out the appearance without soaking the seat.
Stiff upholstery is often a sign of cleaner residue. Use less product on the next pass and blot more thoroughly. Once the seat is dry, vacuum it again with a soft brush attachment to lift the fibers and restore a more natural texture.
When a Deep Clean Is Worth It
A spray cleaner and brush are enough for routine maintenance, fresh spills, and moderate soil. Deep extraction cleaning makes more sense when seats have persistent odors, widespread staining, years of embedded dirt, or visible residue returning after surface cleaning.
An extractor uses water and suction to flush and recover soil, but it has a trade-off: it is easier to over-wet seats if you are inexperienced. Use short passes, make extra dry passes with no spray, and allow plenty of drying time. If you cannot park the vehicle somewhere dry with good airflow, consider delaying extraction or using a professional detailer for severe contamination.
For most households, a quick vacuum every couple of weeks and prompt spot cleaning will reduce how often you need that deeper job. Keeping a microfiber towel and small upholstery cleaner in the garage can turn a stressful spill into a five-minute fix instead of a permanent reminder on the seat.