
A five-minute oil check can catch a small problem before it becomes an expensive one. To check engine oil correctly, you need more than a quick look under the hood: the car must be positioned properly, the oil needs time to settle, and the dipstick has to be read the right way. Once you know the routine, it is one of the simplest maintenance habits you can build.
Engine oil lubricates moving parts, helps manage heat, and carries contaminants toward the oil filter. Running low on oil can increase engine wear quickly. Running with the wrong oil or badly degraded oil can create problems too. Checking it regularly gives you useful information between scheduled oil changes.
What You Need Before Checking Your Oil
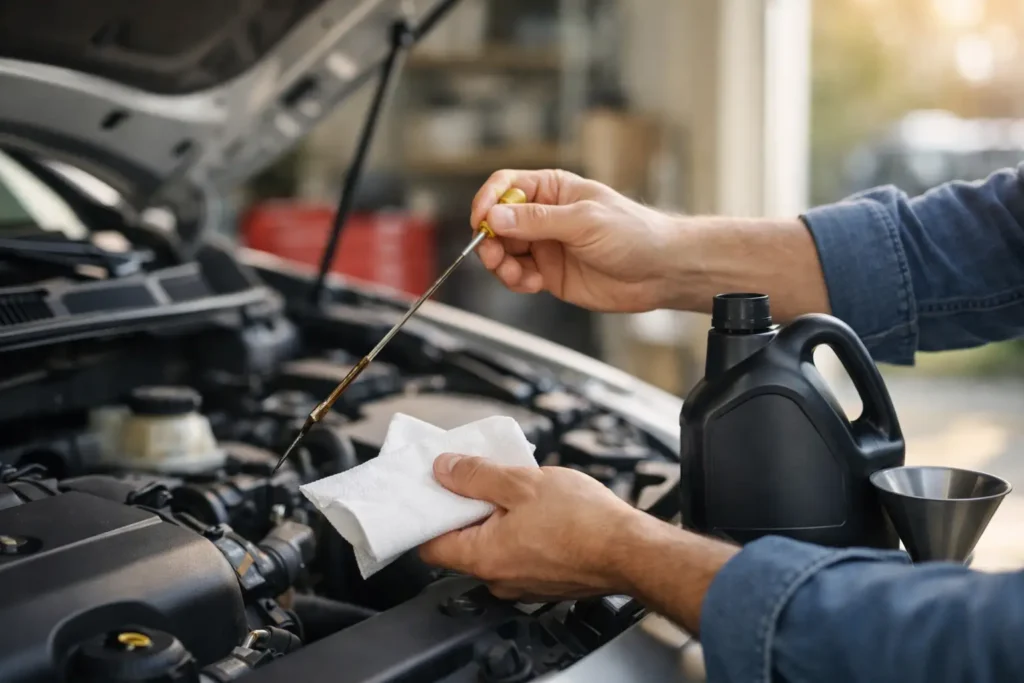
You usually need only a clean paper towel or lint-free rag. Gloves are optional, but helpful if you do not want oil on your hands. Keep your owner’s manual nearby the first time, since dipstick location, oil specifications, and proper checking procedures can vary by vehicle.
Most gas-powered cars have a dipstick with a brightly colored handle, often yellow or orange. It is commonly near the engine, but not always in the same spot. Some newer vehicles, especially certain luxury models and hybrids, do not have a traditional dipstick. They display oil level through the instrument cluster or infotainment screen instead. In that case, follow the vehicle’s on-screen instructions and manual rather than trying to check the level under the hood.
How to Check Engine Oil Correctly Step by Step
Start by parking on level ground. A driveway with a noticeable slope can make the reading unreliable because the oil pools toward one end of the oil pan. Set the parking brake and turn the engine off.
The best engine temperature depends on the manufacturer’s instructions, but there is a practical rule that works for many vehicles. Check after the engine has been off for at least five to 10 minutes, whether it was recently driven or warmed up. This gives oil time to drain back into the pan, where the dipstick measures it. If you check it first thing in the morning before starting the car, that is also a reliable time because the oil has fully settled.
Open the hood and find the dipstick. Pull it out slowly, then wipe the blade clean with your rag. The first pull often shows oil splashed along the tube and does not provide an accurate reading.
Insert the dipstick fully, wait a moment, and pull it out again. Hold it horizontally so oil does not run up the blade and blur the marks. Look for the measurement area near the end. It may use two holes, two lines, a crosshatched section, or labels such as MIN and MAX.
Oil should sit between the low and full marks. A level near the middle is generally fine. If it is close to or below the low mark, add oil soon. If it is above the full mark, do not assume more is better. Overfilling can cause foaming, excess pressure, and seal or catalytic converter issues in some engines. If the level is significantly above full and you did not just add oil, have the vehicle checked.
After reading the dipstick, push it all the way back into its tube and make sure the hood is latched securely.
What the Dipstick Marks Actually Mean
The space between the low and full marks is not a warning zone. It is the normal operating range. On many engines, that range equals about one quart of oil, though the exact amount differs by vehicle. Your owner’s manual may specify the amount.
Do not automatically add a full quart when the oil is simply below the midpoint. Add a small amount first, typically about one-quarter to one-half quart, then wait a few minutes and recheck. This slower approach reduces the chance of overfilling.
Add Oil Carefully If the Level Is Low
Use the oil type and viscosity listed in the owner’s manual or on the oil filler cap. Examples include 0W-20, 5W-30, and 0W-30, but those numbers are not interchangeable just because the bottles look similar. Modern engines can be particular about viscosity and oil standards.
Find the oil filler cap on top of the engine. It usually has an oil-can symbol. Remove it and use a funnel to prevent spills on the engine cover or exhaust components. Add a small amount, replace the cap, and let the oil settle for a few minutes before checking the dipstick again.
If you spill a little oil, wipe it up before driving. Oil on hot engine parts can create smoke and an unpleasant smell. A small spill is usually not an emergency, but it should not be ignored.
Check the Oil’s Condition, Not Just the Level
The dipstick also gives a basic view of oil condition. Fresh oil is often amber or light brown, while used oil becomes darker. Dark oil alone does not mean it needs immediate replacement. Detergents in modern engine oil are designed to hold contaminants in suspension, which often darkens the oil during normal use.
Focus instead on unusual signs. Oil that looks milky or creamy can indicate moisture contamination, sometimes from short trips but potentially from coolant mixing with oil. A gritty texture may suggest contamination. A strong gasoline smell can point to fuel dilution. If the oil looks frothy, contains visible metallic particles, or has an unusual odor, schedule an inspection rather than simply changing the oil and hoping the issue disappears.
How Often Should You Check Engine Oil?
For most drivers, checking once a month is a sensible routine. Check more often if your car is older, has a history of using oil, has a minor leak, is driven long distances, tows regularly, or is used in very hot conditions.
It is also smart to check before a road trip and after an oil change. After service, verify that the level is correct once the car has been driven and allowed to sit. This is not about second-guessing a shop. It is about knowing the condition of one of your vehicle’s most important fluids.
Your dashboard oil pressure warning light needs a different response. If it comes on while driving, pull over safely and shut off the engine as soon as possible. That light may signal dangerously low oil pressure, which is more urgent than a reminder that an oil change is due. Do not continue driving just because the dipstick showed an acceptable level the week before.
Common Mistakes That Lead to a Bad Reading
Checking on a slope is one of the most common errors. Another is reading the dipstick only once, without wiping and reinserting it. Oil can smear on the blade as the dipstick travels through its tube, making the level appear higher than it really is.
Drivers also sometimes check immediately after shutting off a hot engine. The reading may look low because some oil is still circulating through the engine. Waiting a few minutes produces a more useful result. On the other hand, leaving the engine running while checking is never appropriate for a traditional dipstick measurement.
Finally, avoid treating the oil level as the only maintenance decision. A full dipstick does not mean the oil is fresh, and dark oil does not always mean it is overdue. Follow the maintenance interval in your manual, accounting for severe-use conditions such as repeated short trips, dusty roads, towing, or extended idling.
When Low Oil Means More Than a Top-Off
Adding a little oil between changes can be normal, particularly on higher-mileage vehicles. But a repeated drop deserves attention. Notice how much you add and how many miles you drive between checks. Keeping a simple note in your phone can reveal a pattern that is easy to miss otherwise.
Look under the parked vehicle for fresh spots, and inspect around the oil filter area and drain plug after an oil change. Blue exhaust smoke, a burning-oil smell, or a sudden increase in consumption can mean the engine is leaking or burning oil. These issues are easier and often cheaper to address before they become severe.
Checking your oil is not complicated, but it is a useful conversation with your car. Make it part of a monthly habit, alongside checking tire pressure and washer fluid, and you will be far more likely to catch a change while it is still manageable.