
A streak across the driver’s side may seem minor until a hard rain turns it into a visibility problem. Wiper blades are inexpensive, wear out faster than many drivers expect, and are one of the easiest maintenance items to handle at home. When you replace windshield wipers yourself, you can restore clear sightlines in a few minutes without scheduling a shop visit.
The key is buying blades that fit your vehicle and installing them without bending the wiper arm or scratching the glass. The job is beginner-friendly, but a little preparation prevents the most common frustrations.
When Should You Replace Your Wiper Blades?
Most wiper blades last about six to 12 months, depending on weather, how often you drive, and whether your vehicle spends much of its time outdoors. Hot sun dries and cracks rubber. Ice, road grime, and frequent use wear down the wiping edge. Even blades that look acceptable can lose their ability to clear water evenly.
Replace them when they leave streaks, skip across the windshield, smear water, chatter loudly, or leave an un-wiped band in your view. Torn or visibly cracked rubber is an immediate reason to change them. Do not assume washer fluid is the problem if clean fluid still produces poor wiping performance.
It also makes sense to inspect the rear wiper, if your vehicle has one. Rear blades are often forgotten until they fail during a wet backup or when the rear window is coated in road spray.
What You Need Before You Start
For most vehicles, you need only new wiper blades and a clean towel. A small amount of glass cleaner is useful for cleaning the windshield before testing the new blades. You generally do not need hand tools.
The important part is confirming blade size and connector style. Many cars use different lengths for the driver and passenger sides, so do not assume a matching pair will fit. Check your owner’s manual, a parts catalog, or the fitment guide on the blade packaging. Enter the exact year, make, model, and trim when possible.
If your vehicle uses a rear wiper, verify that blade separately. Rear arms often use a different mounting connection from the front blades.
Before lifting either arm, place a folded towel on the windshield below it. The bare metal arm is spring-loaded. If it slips from your hand while the blade is removed, it can strike and crack the glass. That simple towel is cheap insurance.
How to Replace Windshield Wipers Yourself
Park on level ground, turn the vehicle off, and make sure the windshield is cool. If the glass is covered in ice, clear it first. Never use new wiper blades to scrape frozen glass.
1. Lift One Wiper Arm at a Time
Start with the driver’s side and raise the wiper arm away from the windshield. Keep a secure grip as you work. Replacing one blade at a time gives you a reference if you need to check how the other blade was installed.
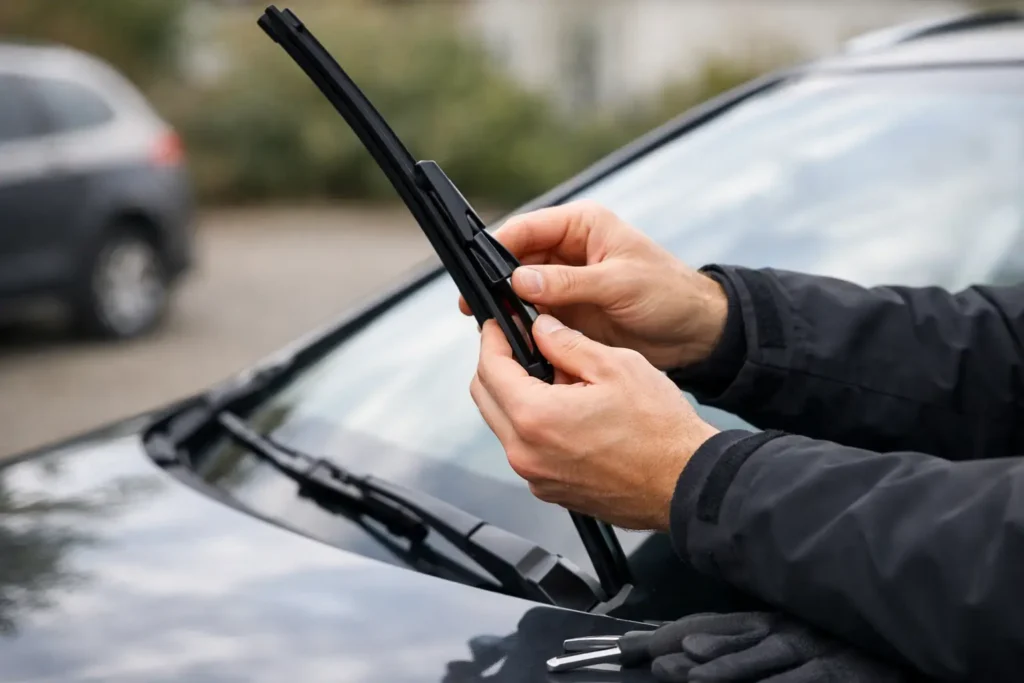
Look closely at the connection between the blade and the arm. The most common design is a J-hook, which looks like a small curved hook. Other vehicles may use a push button, pinch tab, side lock, bayonet, or top-lock connection.
2. Remove the Old Blade
With a J-hook arm, rotate the blade so it sits roughly perpendicular to the arm. Find the small release tab on the underside or center of the adapter. Press the tab and slide the blade down toward the open end of the hook. Once it clears the hook, pull it free.
For a push-button or tab-style connection, press the release mechanism and slide the blade straight off the arm. Avoid forcing it. If it does not move easily, check for a locking cover or adapter that must be opened first.
Set the old blade aside and gently lower the bare arm onto the towel while you prepare the new one.
3. Select the Correct Adapter
Many replacement blades include several adapters in the package. This is normal, especially with beam-style blades designed to fit many vehicles. Read the small instruction sheet rather than guessing based on appearance.
Some blades arrive with the correct adapter already installed. Others require you to snap on a specific adapter for your arm style. Make sure it sits fully flush and locks into place. An adapter that is partly attached can allow the blade to loosen during use.
4. Install and Lock the New Blade
Lift the arm again and align the new blade with the hook or connector. For a J-hook, slide the hook into the blade adapter until you hear or feel a click. Give the blade a light tug to confirm it is locked. Do not pull hard enough to stress the arm.
For other connector styles, slide or press the blade into position until the release tab clicks into its locked position. Close any protective cover supplied with the adapter.
Lower the arm slowly onto the windshield. Never let it snap down. Repeat the process on the other front blade, using the correct size for that side.
5. Test the Blades With Washer Fluid
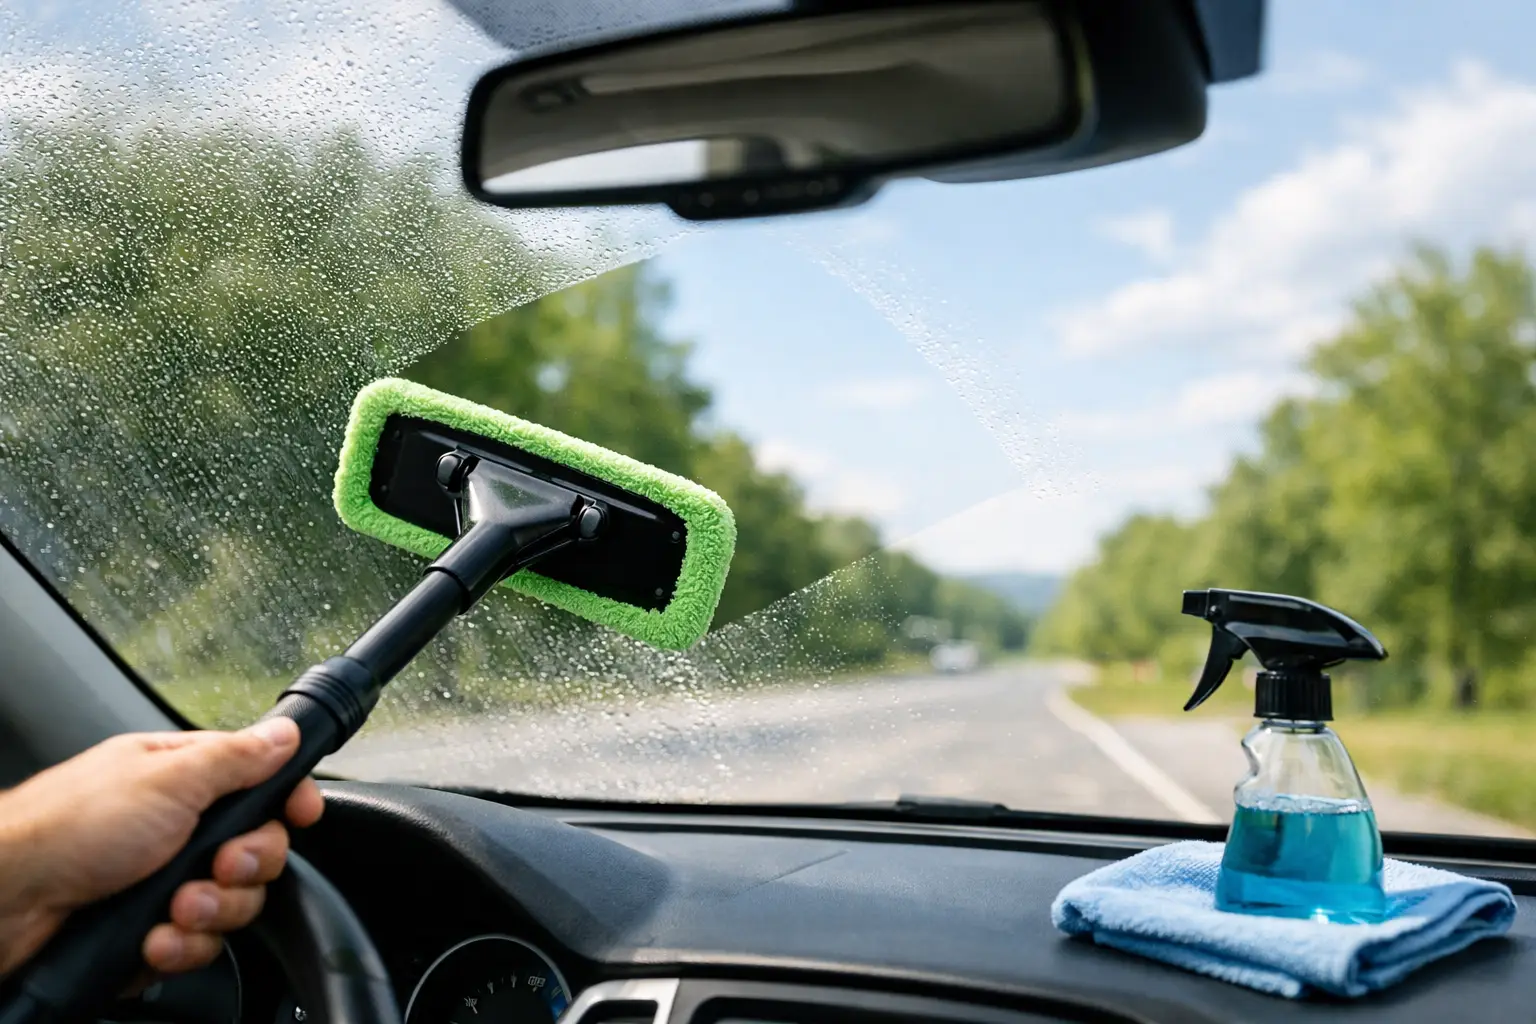
Remove the towels, start the vehicle, and spray washer fluid before running the wipers. This gives the rubber a lubricated surface for its first pass and helps clean off dust or packaging residue.
Watch for smooth, quiet movement and full contact across the windshield. If a blade streaks immediately, confirm that it is not installed upside down, that the adapter is locked, and that the windshield is clean. A small amount of streaking on the first few passes can disappear after the rubber settles, but persistent problems deserve a closer look.
Choosing the Right Type of Wiper Blade
Fitment matters more than price, but blade design can affect performance in your climate. Conventional frame-style blades use a metal or plastic frame with multiple pressure points. They are commonly affordable and work well for many everyday vehicles.
Beam blades have a curved, frameless design that applies more even pressure across the windshield. They tend to perform well in heavy rain and are less likely to collect snow and ice in their frame. They usually cost more, but the added durability can be worthwhile for drivers in harsh weather.
Hybrid blades combine a traditional internal frame with a sleeker outer shell. They can offer a balance of appearance, pressure, and weather protection.
There is no single best option for every driver. A commuter in a mild climate may be perfectly served by quality conventional blades. If you regularly face snow, freezing rain, or highway downpours, beam or hybrid blades may justify the higher cost.
Common Mistakes That Make a Simple Job Harder
The biggest mistake is buying by visual comparison instead of vehicle fitment. A blade that looks close in length may use the wrong connector, contact the windshield poorly, or interfere with the other blade.
Another common issue is replacing only the worn-looking driver’s side blade. The passenger blade may still move, but uneven wiping can reduce visibility and leave glare-producing water on the glass. Replacing front blades as a set provides more consistent results.
Avoid using the wipers on a dry, dirty windshield. Dust and grit can damage the rubber edge and create scratches over time. Clean the windshield periodically, and wipe the blade rubber with a damp microfiber towel if it has collected grime.
Finally, do not ignore a bent arm or damaged windshield. New blades cannot correct poor arm tension, a warped wiper arm, or pitted glass. If the same area consistently fails to clear after proper installation, the issue may be beyond the blade itself.
Keep New Wipers Working Longer
A quick windshield cleaning is one of the best ways to protect new blades. Road film, bug residue, tree sap, and winter salt force rubber to drag instead of glide. Keep washer fluid topped off with a formula suited to your climate, particularly where temperatures drop below freezing.
During winter, free the blades from ice before turning them on. If your vehicle is parked outside during a storm, lifting the arms can prevent them from freezing to the windshield, though this is not necessary for every light frost. In hot weather, parking in shade when practical helps slow rubber deterioration.
Clear visibility is a basic safety feature, not a luxury upgrade. Once you know the connector type and blade sizes your vehicle uses, this small DIY task becomes a fast, confident part of routine car care.