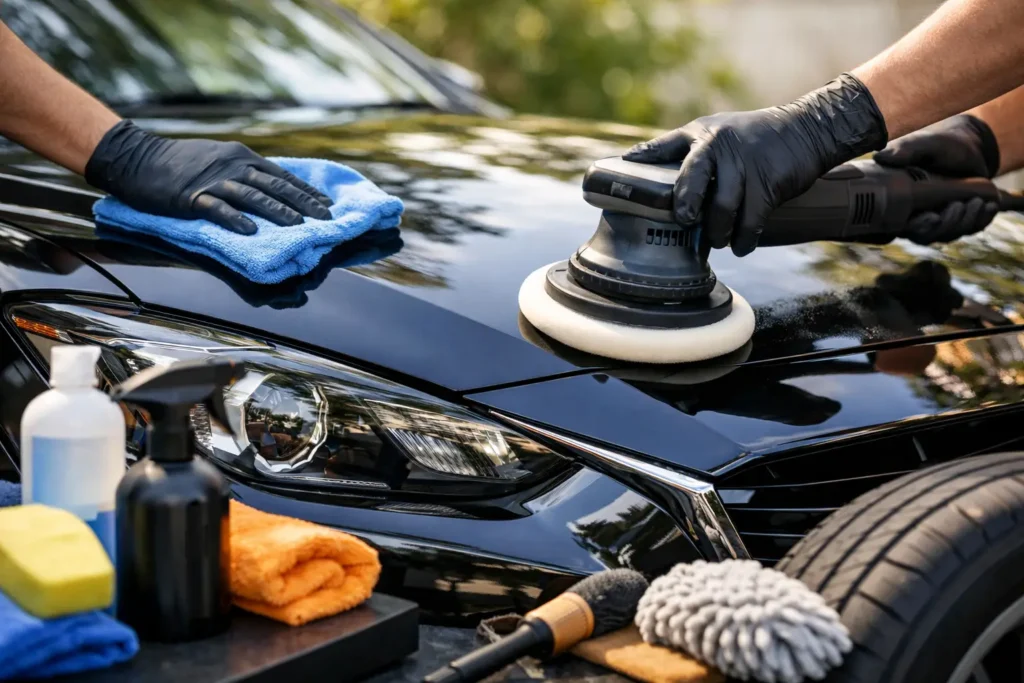

A car can look tired long before it is actually worn out. Road film dulls the paint, crumbs collect under the seats, and a sticky steering wheel can make every commute feel less pleasant. This beginner car detailing guide gives you a sensible process for getting your vehicle genuinely clean without buying a shelf full of specialty products or risking damage with the wrong technique.
Detailing is more thorough than a quick drive-through wash, but it does not have to mean spending an entire weekend polishing paint. For most first-time DIY detailers, the goal is simple: remove dirt safely, clean the surfaces you touch and see every day, and add basic protection that makes the next cleanup easier.
Start With the Right Expectations
A beginner detail will not erase deep scratches, faded clear coat, or stains that have been sitting in fabric for years. Those jobs may require paint correction, professional extraction, or replacement parts. What a careful home detail can do is improve the appearance, comfort, and resale readiness of almost any well-maintained vehicle.
Plan for two to four hours the first time. A compact car that is regularly cleaned may take less time, while a family SUV with pet hair, salt stains, and neglected wheels can take longer. Work in the shade whenever possible. Direct sun dries soap and cleaners too quickly, which can leave water spots and streaks.
Build a Simple Detailing Kit
You do not need premium tools to get good results, but a few purpose-made supplies are worth buying. Household dish soap, old bath towels, and one bucket for the whole vehicle tend to create more problems than they solve.
For a capable starter setup, gather:
- Two buckets, preferably with grit guards, plus a quality car wash soap
- Several clean microfiber towels and a microfiber wash mitt
- A dedicated wheel cleaner, wheel brush, and tire brush
- An interior cleaner, glass cleaner, and a soft detailing brush
- A vacuum with crevice attachments and a protectant suitable for interior plastics
- A spray wax or paint sealant for simple exterior protection
Use separate towels and brushes for wheels, paint, glass, and interior surfaces. Brake dust and grit can scratch paint, while oily tire products do not belong on upholstery or windows. Color-coding towels or storing them in labeled bins makes this easier to manage.
Why the Two-Bucket Method Helps
One bucket holds your soapy wash solution. The second holds clean rinse water. After washing a small section, rinse the mitt in the rinse bucket before returning it to the soap bucket. This removes much of the grit that could otherwise get dragged across the paint.
It is not a guarantee against scratches, especially on a heavily soiled vehicle, but it is a major improvement over repeatedly dipping a dirty mitt into one bucket. If your vehicle is covered in mud or road salt, rinse thoroughly first and avoid touching the paint until loose debris is gone.
Wash the Exterior in the Safest Order
The order of work matters because the dirtiest areas should not contaminate cleaner ones. Start with wheels and tires while the vehicle is cool, then move to the body, followed by drying and protection.
Clean Wheels and Tires First
Spray one wheel at a time with a cleaner made for your wheel finish. Allow it to dwell only as directed, then agitate the face, barrel, lug areas, and tire sidewall with dedicated brushes. Rinse completely before moving on.
Do not use an acidic wheel cleaner unless you know your wheels can handle it. Many factory wheels are clear-coated and tolerate common pH-balanced products well, but damaged finishes, polished metal, and certain aftermarket wheels deserve extra caution. A gentle cleaner and a little brushing are slower, but safer when you are unsure.
Pre-Rinse and Wash From the Top Down
Rinse the entire vehicle to remove loose dust and grime. Then wash from the roof downward in small sections: roof, glass, hood, upper doors, lower doors, and finally the rear bumper. Lower panels collect more abrasive dirt, so save them for last.
Use straight, overlapping passes rather than scrubbing in circles. Circular motions can make swirl marks more noticeable under sunlight. Let the soap do the cleaning work, and apply only light pressure with the mitt.
Rinse each section before soap dries, particularly in warm weather. When you finish washing, give the vehicle a final rinse and inspect gaps around mirrors, trim, and door handles where soap can hide.
Dry Before Water Spots Set In
Drying is not optional if you want a clean finish. Minerals in tap water can leave spots, especially on dark paint and glass. Use clean microfiber drying towels, laying the towel flat and gently pulling it across the panel rather than rubbing aggressively.
Blotting works well on delicate areas and newer paint. Open the doors, trunk, and fuel door carefully to catch trapped water with a separate towel. If you have access to a leaf blower or dedicated car dryer, it can help clear water from mirrors, badges, and trim without touching the paint.
Protect the Paint Without Overcomplicating It
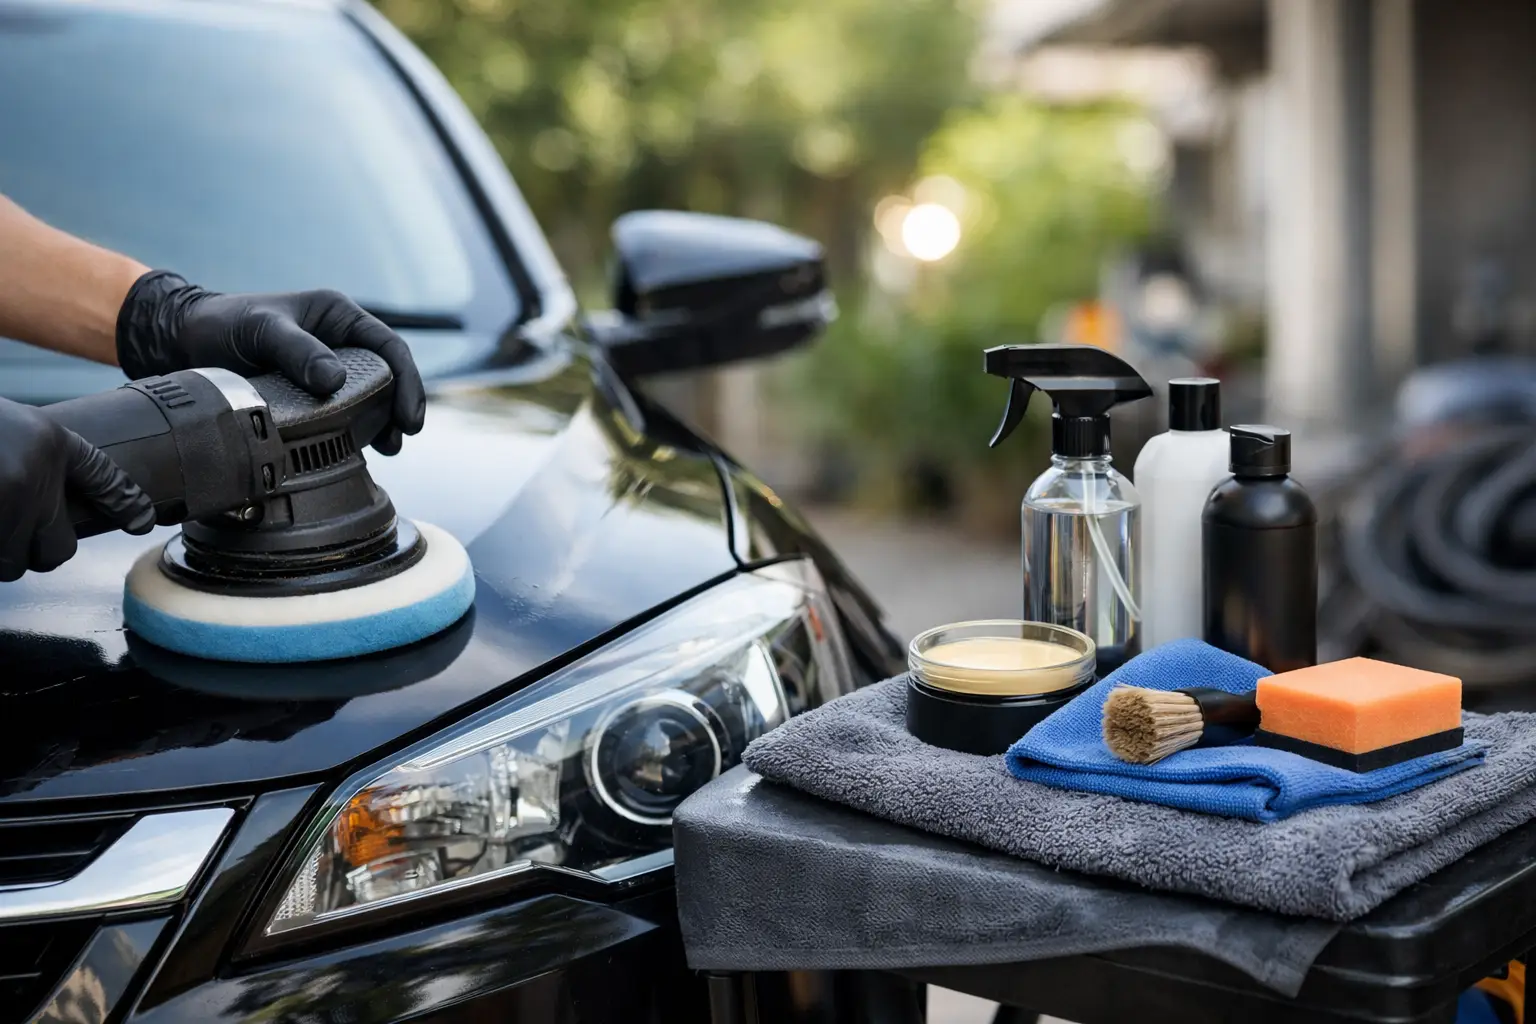
After washing and drying, apply a spray wax or spray sealant according to its instructions. These products are beginner-friendly because they add shine and water beading without the effort of traditional paste waxes. They will not repair paint defects, but they can make the finish look fresher and reduce how strongly dirt sticks between washes.
Apply protection to a cool surface with a clean microfiber towel. Use less product than you think you need. Heavy application often creates streaking and wastes product. If your paint feels rough after washing, it may need clay-bar treatment to remove bonded contamination, but that is a separate step best attempted after you are comfortable with basic washing technique.
Detail the Interior From High to Low
An interior is easiest to clean when you remove clutter first. Take out trash, personal items, floor mats, and anything stored in door pockets or under seats. This gives you access to the areas where dirt builds up and prevents you from vacuuming around obstacles.
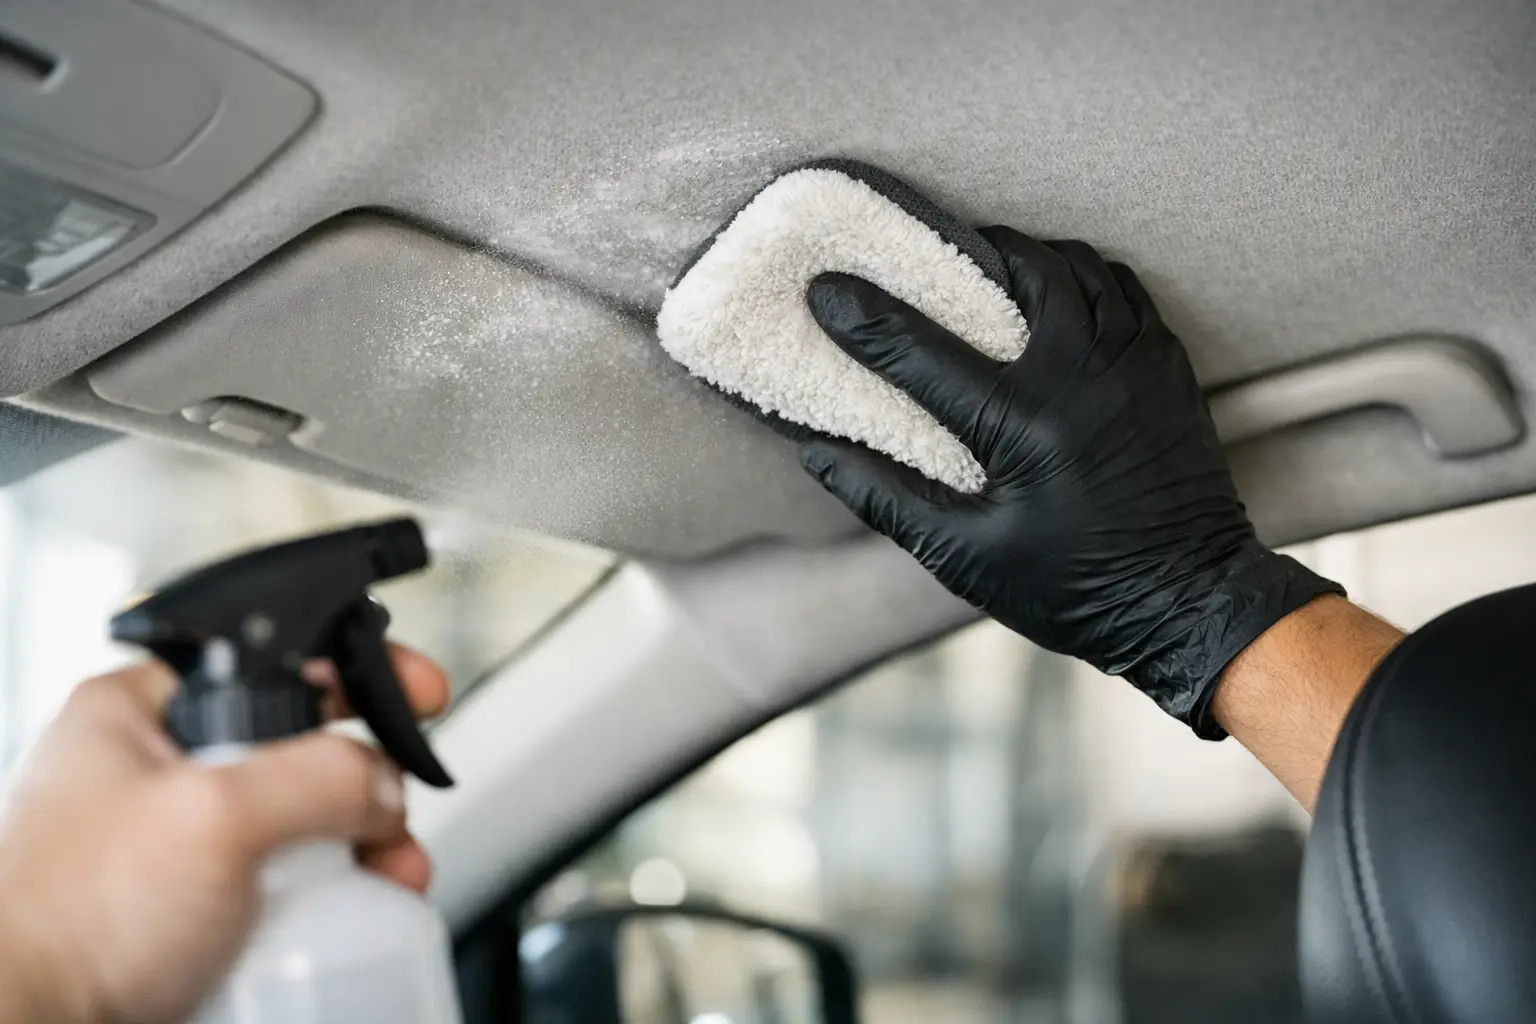
Vacuum seats, carpets, floor mats, trunk carpeting, and crevices before using liquid cleaners. Move the front seats forward and backward to reach the tracks and the space underneath. A soft brush can loosen dust from vents, seams, cup holders, and around buttons before you vacuum it away.
Clean Materials According to Their Finish
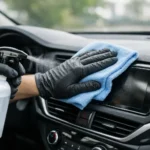
Use a light mist of interior cleaner on a microfiber towel rather than spraying directly onto dashboards, screens, or switches. This gives you more control and reduces the chance of cleaner collecting in electronics. Wipe the dashboard, door panels, center console, steering wheel, shifter, and other high-touch areas.
For cloth seats, blot spills and stains rather than soaking the fabric. Use an upholstery cleaner sparingly, agitate gently with a fabric brush if needed, then blot with a clean towel. Excess moisture can leave water rings, create odors, and take a long time to dry.
Leather needs a product specifically labeled for automotive leather. Modern leather seating is usually coated, so harsh cleaners and heavy oils are unnecessary. Clean it gently, then use a light conditioner only if the product and your owner’s manual support it. For suede or Alcantara-style surfaces, use a cleaner designed for that material and avoid ordinary leather conditioner entirely.
Do Not Forget Glass and Floor Mats
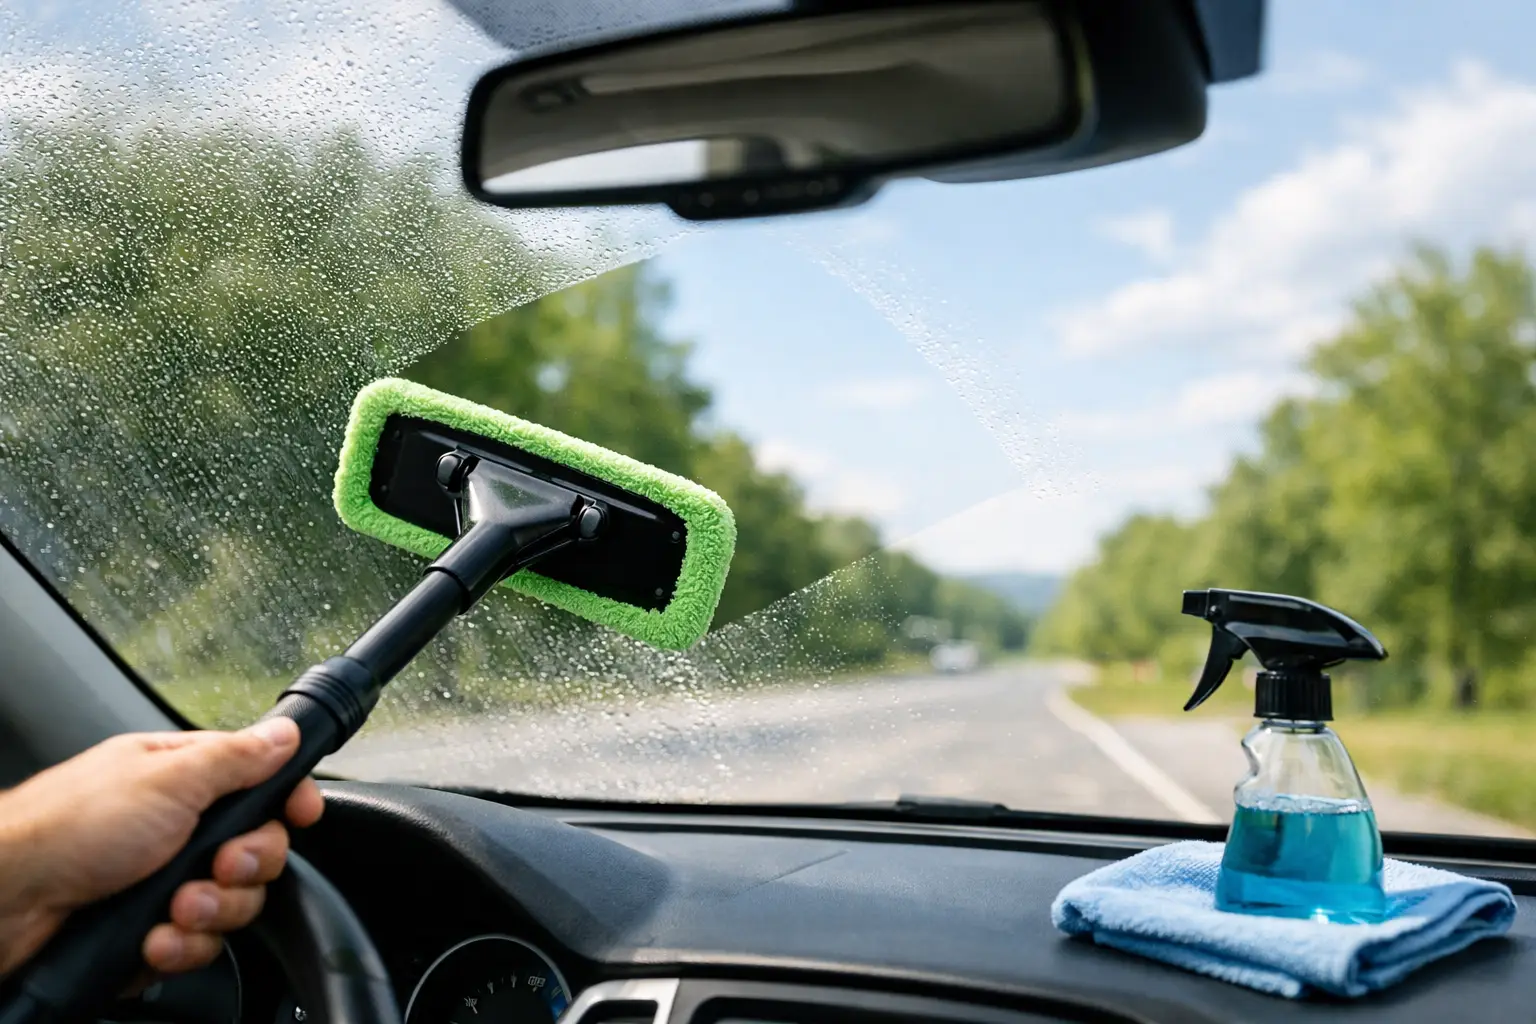
Clean interior glass last, after dashboard work has settled. Spray glass cleaner onto a towel, not directly onto the windshield, and wipe in one direction on the inside. Wipe the exterior in a different direction. If you see a streak, this makes it easier to tell which side needs another pass.
Rubber floor mats can be rinsed, cleaned, brushed, and dried before reinstalling. Carpet mats should be vacuumed thoroughly and spot-cleaned as needed. Never put damp mats back into the vehicle. Moisture trapped beneath them can lead to odors and, in some cases, mold.
Common Beginner Detailing Mistakes
The most expensive mistake is using the wrong product on the wrong surface. Avoid household glass cleaners containing ammonia on tinted windows, and do not use tire shine on pedals, steering wheels, or floor mats. Slick products in those areas can create a safety issue.
Another common mistake is using one dirty towel for everything. Microfiber towels work well only when they are clean and used for the proper task. Wash them separately from household laundry, skip fabric softener, and dry them on low heat. Fabric softener coats the fibers and reduces their ability to absorb water and pick up dirt.
Finally, resist the urge to chase perfection on the first attempt. Aggressive polishing, harsh chemicals, and hard scrubbing can cause more damage than a few remaining marks. Build skill with safe washing, thoughtful interior cleaning, and consistent protection first.
Set a Schedule You Can Keep
For most daily drivers, washing every two to four weeks is a practical baseline. Clean more often if you deal with winter road salt, bird droppings, tree sap, coastal air, or frequent highway travel. Bird droppings and sap should be removed as soon as possible because they can etch or stain paint when left in heat.
A quick interior reset every week or two makes full detailing far easier. Empty trash, wipe touchpoints, shake out mats, and vacuum visible debris. Then reserve a more complete detail for every few months, or before a road trip, trade-in, or sale.
The best detailing routine is not the most elaborate one. It is the one you can repeat safely. Start with clean tools, work patiently in manageable sections, and your car will stay more comfortable to drive and easier to maintain with every wash.