
A dashboard can look dusty again just days after a wash, especially if your car sits outside or carries kids, pets, coffee, and everyday clutter. Learning how to clean car dashboard surfaces correctly is not about making everything shiny. It is about removing grime without leaving greasy residue, faded plastic, cloudy screens, or moisture where it does not belong.
A careful dashboard cleaning improves the way your cabin feels every time you drive. It also helps protect materials that can dry out, crack, or discolor over time. The good news is that most dashboards only need basic tools and a light touch.
Gather the right dashboard-cleaning supplies
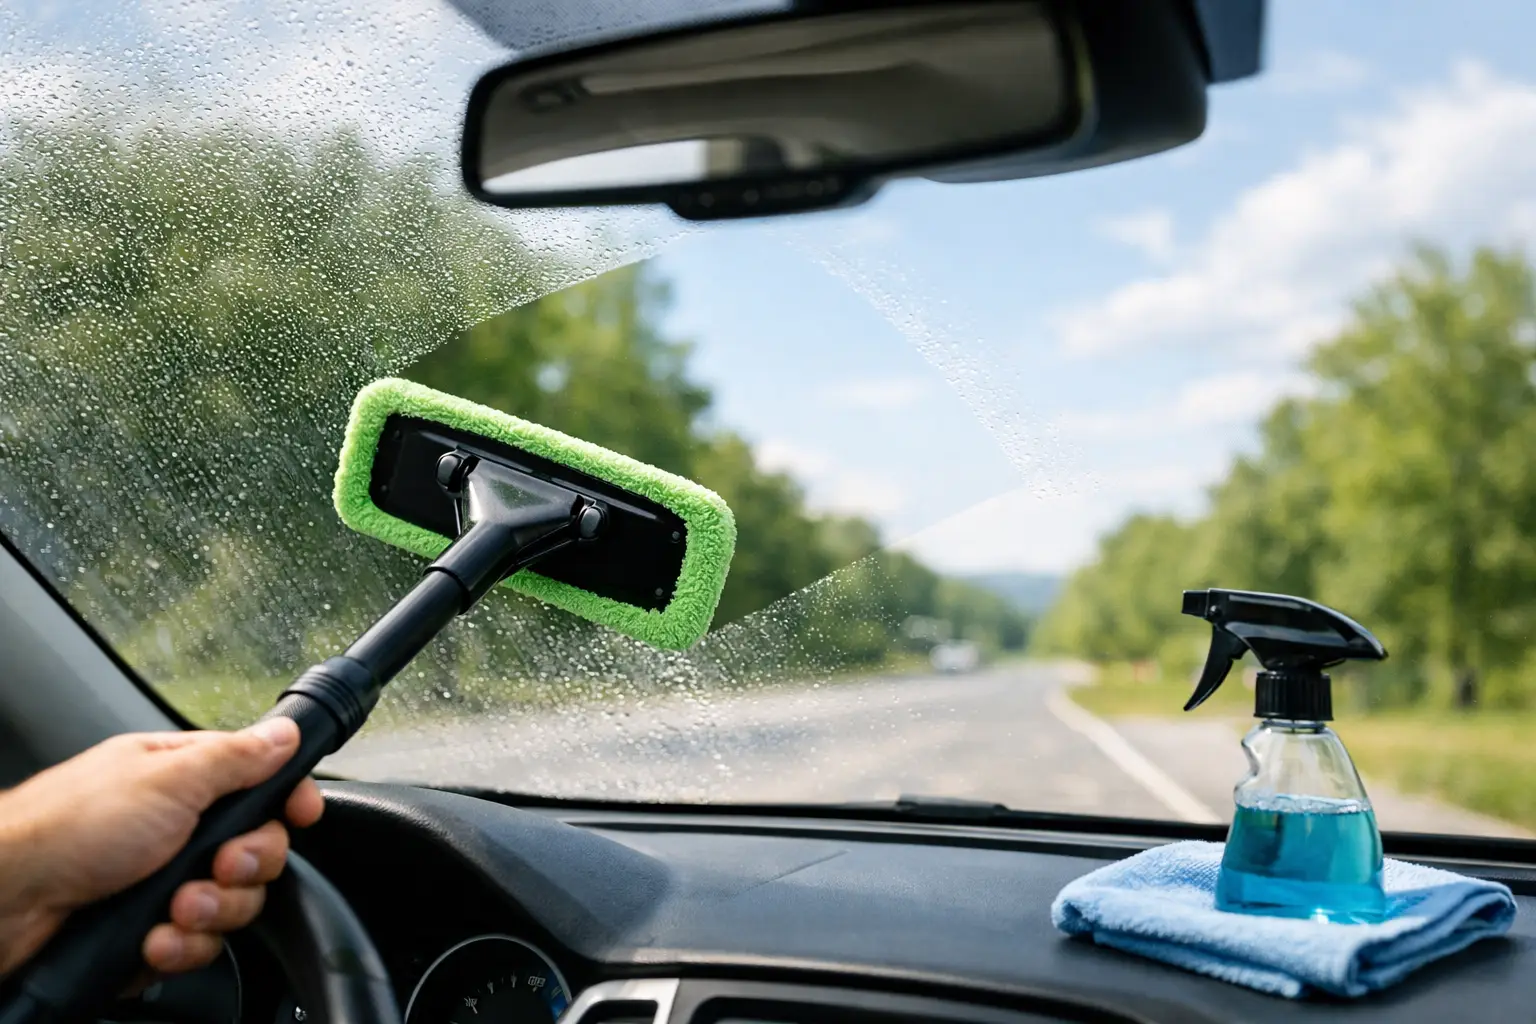
You do not need a large detailing cart to get good results. Start with a clean microfiber towel, a soft detailing brush, a vacuum with a brush attachment, and a mild interior cleaner labeled as safe for plastic, vinyl, and rubber. Keep a second dry microfiber towel nearby for buffing away leftover moisture.
For routine dust, a lightly dampened microfiber towel may be all you need. If the dashboard has sunscreen residue, food splatters, fingerprints, or oily buildup, use an interior cleaner sparingly. Avoid household glass cleaner, all-purpose degreasers, bleach, ammonia, and alcohol-heavy cleaners unless the vehicle manufacturer specifically approves them for that surface. These products can strip protective coatings, dry out vinyl, or leave marks on displays.
If you prefer a simple DIY option for basic dirt, mix a small amount of mild dish soap with water. It should be a weak solution, not a bucket of suds. Even then, use it on the towel rather than spraying it directly onto the dashboard.
Start cool and work from dry dirt to stuck-on grime
Park in the shade and let the interior cool down before you begin. A hot dashboard can cause cleaners to evaporate too quickly, which often creates streaks. Direct sun also makes it harder to see missed dust and residue.
Begin by removing loose items from the dash, including phone mounts, parking passes, and anything tucked near the windshield. Then vacuum along the base of the windshield, around vents, and inside storage trays. Dust tends to collect in these areas, and wiping before vacuuming can push it farther into narrow seams.
Use a soft brush to loosen dust around buttons, trim edges, gauge hoods, speaker grilles, and air vents. Work gently. The goal is to lift dirt, not scrub it into the surface. Follow with the vacuum or wipe the area using a dry microfiber towel.
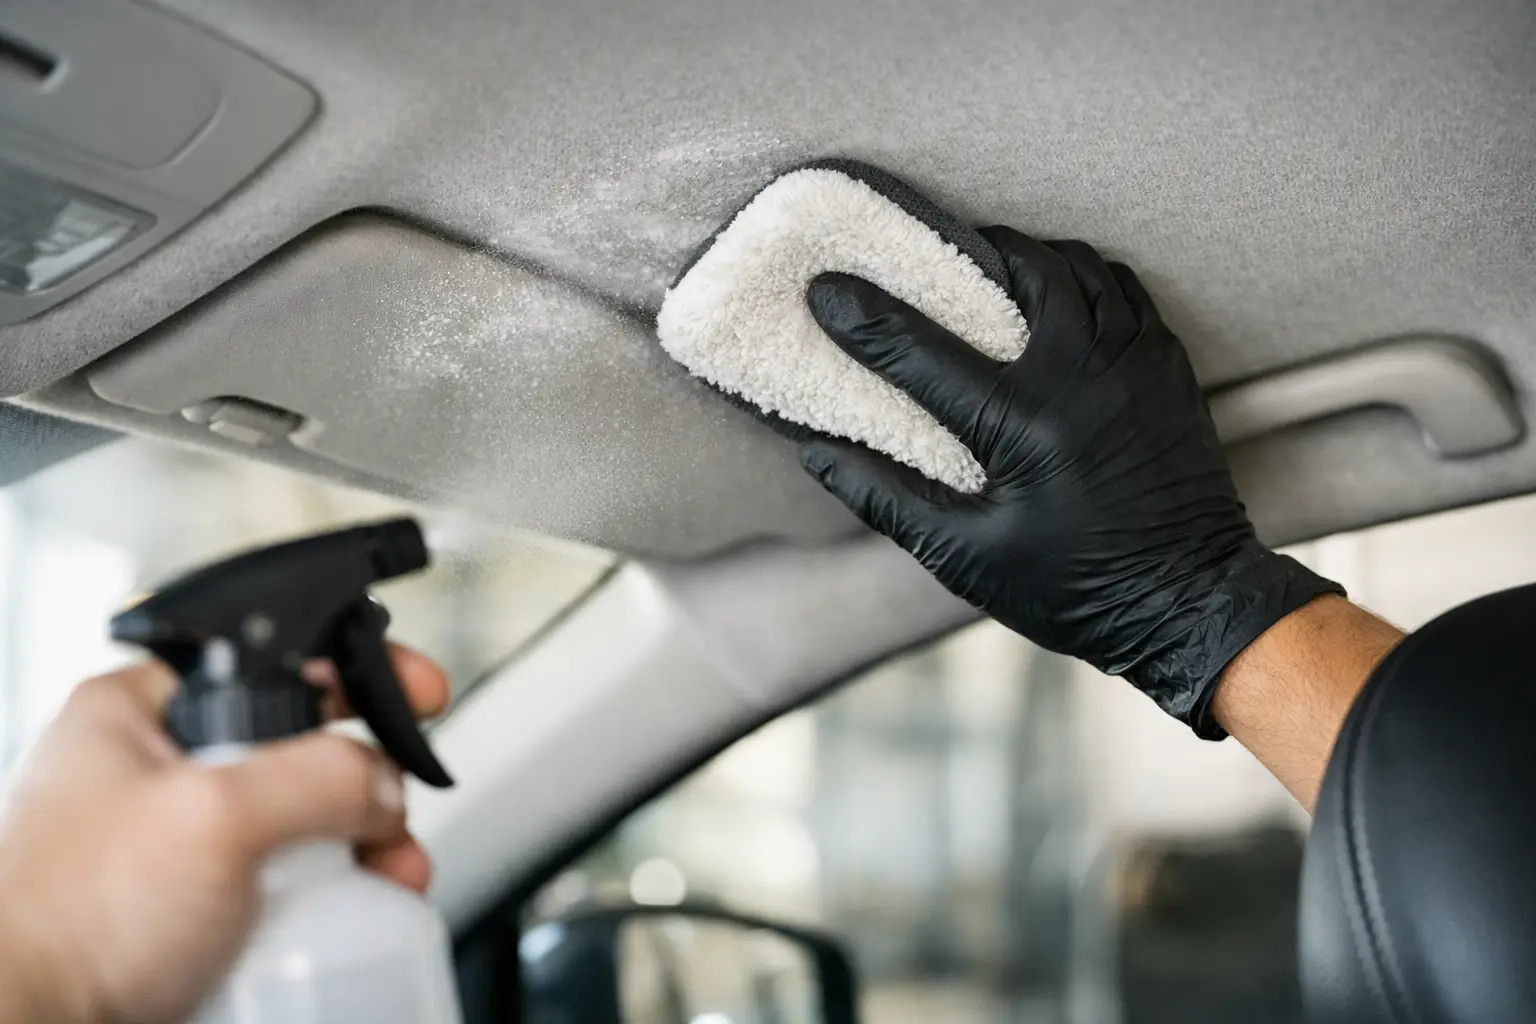
For light dust across the main dashboard, fold a microfiber towel into quarters and wipe in straight, overlapping passes. Turning the towel to a clean section as it picks up dirt prevents you from spreading grit across the plastic. This small step matters because fine dust can act like an abrasive on glossy trim and clear instrument lenses.
How to clean car dashboard stains safely
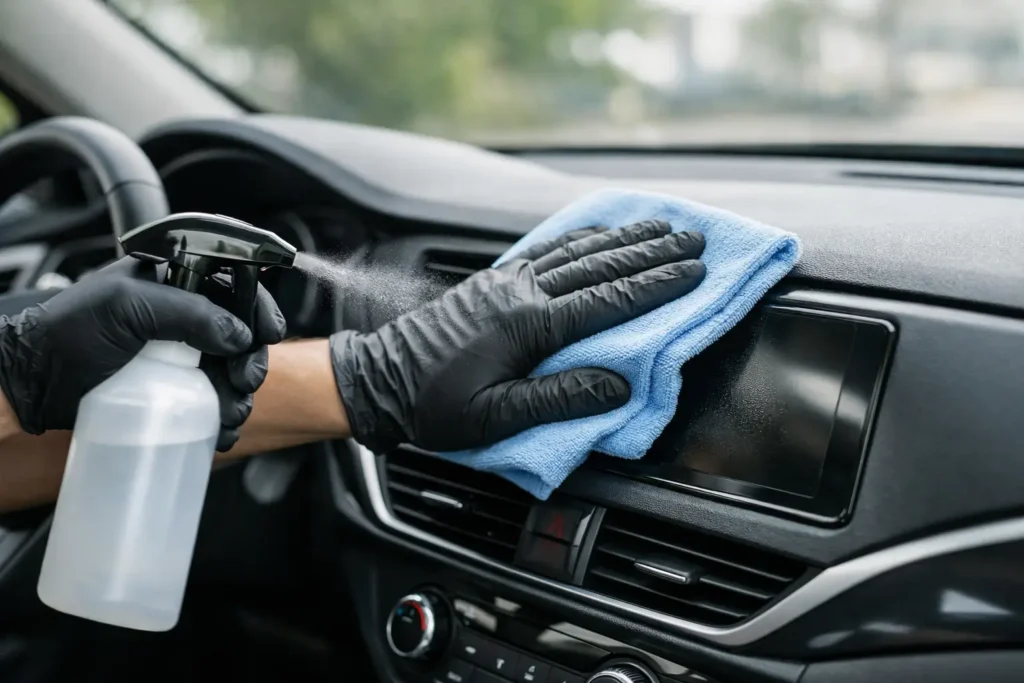
When dry dust is gone, inspect the dashboard for sticky spots and darker areas around cup holders, controls, and door-side trim. Spray a small amount of interior cleaner onto a microfiber towel, not onto the dashboard. This gives you more control and reduces the chance of liquid reaching electronics, vents, switches, or seams.
Wipe the affected area with gentle pressure. Let the cleaner sit on stubborn residue for a few seconds, then wipe again rather than scrubbing hard. For textured plastic, use a soft detailing brush with a little cleaner on the bristles. Move in short motions, then immediately wipe the loosened grime away with a clean towel.
Sunscreen is one of the most common dashboard stains because it transfers from hands and arms. It can leave a cloudy or greasy film that attracts more dust. A dedicated interior cleaner usually handles it, but it may take two light passes. Do not use harsh solvents to speed up the job. The faster solution can create a permanent dull patch.
Food and drink spills should be cleaned as soon as possible. Dried soda, for example, can leave a tacky film in button gaps and trim seams. Use a barely damp microfiber towel and a soft brush, then dry the area thoroughly. If liquid reached an electronic control or screen edge, stop adding moisture and blot carefully.
Clean vents, screens, gauges, and buttons with extra care
Not every dashboard surface should be treated the same way. Air vents can be brushed and vacuumed, but avoid forcing a wet towel deep into the vent fins. Too much moisture can carry dust into the ductwork and may reach sensitive components behind the dash.
Instrument cluster lenses and infotainment screens require the gentlest approach. Start with a clean, dry microfiber towel designed for delicate surfaces. If fingerprints remain, use a screen-safe cleaner applied to the towel, never directly to the display. Wipe softly in one direction and avoid pressing hard. Many modern screens have anti-glare or anti-fingerprint coatings that can be damaged by ammonia, alcohol, rough paper towels, or aggressive rubbing.
Buttons, knobs, and steering-column controls should be cleaned with a towel that is only slightly damp. Wrap the towel around a fingertip to reach tight spaces. Cotton swabs can help around small edges, but use them dry or barely moistened so fibers and liquid do not get trapped around controls.
Choose a finish based on visibility, not shine
After cleaning, you may want to apply an interior protectant. This is optional, but a quality water-based protectant can help reduce UV-related fading and make later cleaning easier. Choose one with a matte or natural finish for the top of the dashboard.
High-gloss dressings may look dramatic in a photo, but they can create windshield glare on a sunny drive. They may also leave the dashboard feeling slick and attract more dust. If you like a slightly richer appearance, apply protectant to a microfiber applicator, spread a thin, even layer, and buff off excess with a dry towel.
This is one area where more product is rarely better. A dashboard that feels dry to the touch and looks even is properly protected. If it looks wet, oily, or reflective, remove the excess before driving.
Common mistakes that can damage a dashboard
The biggest mistake is spraying cleaner directly across the dash. Overspray can settle into vents, migrate around buttons, and leave uneven spots on the windshield. Applying product to your towel first is safer and usually uses less cleaner.
Another common problem is using paper towels. They are convenient, but they can leave lint and may scratch clear plastic gauge covers or piano-black trim. A clean microfiber towel is a better choice, provided it has not been used on wheels, exterior paint, or greasy engine parts.
Avoid using a greasy tire shine product inside the cabin. Products made for exterior rubber are not designed for dashboard materials and can create a slippery, reflective surface. Also skip steam cleaners unless you understand how to control heat and moisture around automotive electronics. Steam can be effective for certain interior jobs, but it is not necessary for normal dashboard care.
Finally, do not overlook the owner’s manual. Some vehicles use coated soft-touch plastics, real leather trim, open-pore wood, or specialized display surfaces. The manual may identify products and methods to avoid, particularly around screens and instrument panels.
Keep the dashboard cleaner between details
A quick weekly wipe with a dry microfiber towel can prevent dust from becoming a grimy film. For most drivers, a more thorough cleaning every month or two is enough. Cars parked outdoors, driven on dusty roads, or used for family commuting may need attention more often.
Use a windshield sunshade when parking for long periods. It helps lower cabin temperatures and reduces UV exposure, which is one of the main causes of dashboard fading and cracking. Keeping windows closed in dusty areas and cleaning spills promptly also makes a meaningful difference.
A clean dashboard should look calm, even, and natural, not overly polished. Take a few extra minutes around vents, screens, and control buttons, and you will protect the surfaces you see and touch on every drive.